BMW Tie Rod Replacement DIY — Inner, Outer & Alignment
You are driving home, and something feels off. The steering wheel needs constant correction to keep the 3 Series pointed straight, and there is a dull knock from the front end every time a wheel drops into a pothole. Then you spot it: the front tires are feathered on the inner edges, worn in a pattern a rotation will not fix.
Steering play, a bump clunk, and uneven tire wear: the classic signature of a worn tie rod, the link between your steering rack and each front wheel. When one of its two ball joints wears out, toe alignment drifts, tires scrub, and steering goes vague. The good news: the outer joint is one of the most straightforward front-end jobs on the 3 Series, and cost bands are friendly even at an independent shop. The catch, the one BMW’s own technical instructions refuse to soften, is that a wheel alignment is mandatory afterward. Skip it and you erase whatever you just saved, in tire rubber.
Short answer
A bmw tie rod replacement fixes steering play, bump clunks, and uneven front-tire wear caused by a worn inner or outer tie rod joint — owners most often report the failure between 80,000 and 120,000 miles. The outer tie rod end is the common wear item and a moderate DIY job; the inner joint, hidden behind the rack’s accordion boot, needs a special tool and more patience. Either way, BMW TIS procedure RA 32 21 151 requires a wheel alignment plus a steering-angle sensor reset afterward, and any shop quote should include both. Budget roughly $250–$500 per side at an independent shop including alignment, or under $100 in parts DIY.
In this guide
- Inner vs. outer tie rods: what each one does
- The symptoms, ranked by how they arrive
- Interactive: tie rod symptom & cost checker
- How to diagnose it yourself: the tests that separate tie rods from lookalikes
- E90 vs. F30 vs. G20: generation notes
- DIY difficulty: outer vs. inner, honestly rated
- Outer tie rod replacement: step by step
- Inner tie rod replacement: step by step
- The two things BMW demands afterward
- What it costs: DIY vs. independent vs. dealer
- Buying parts without regrets
- FAQ
Inner vs. outer tie rods: what each one does
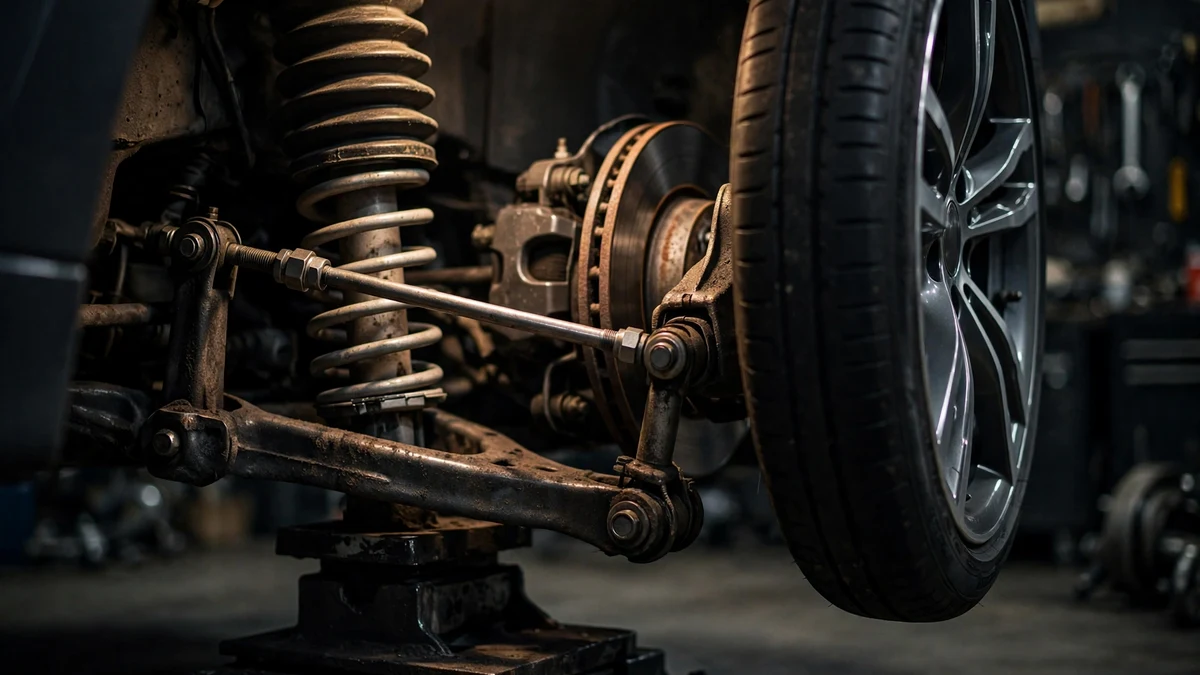
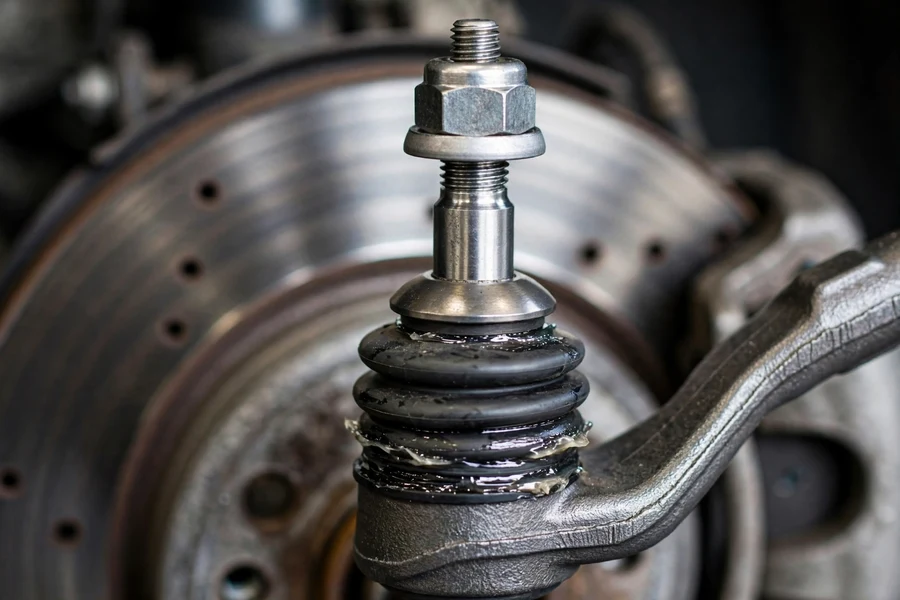
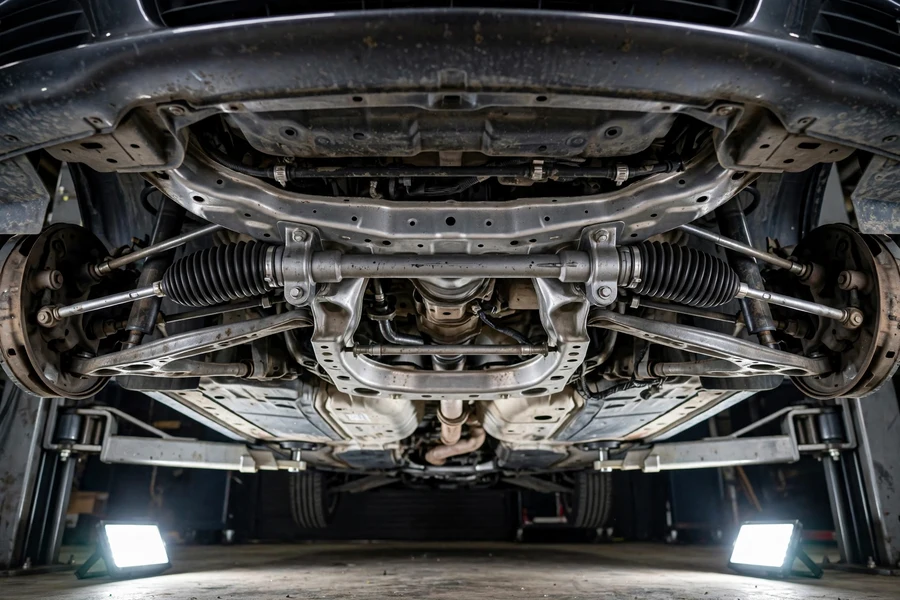
Each front wheel gets one tie rod assembly with two joints. The inner tie rod threads directly into the steering rack — its ball-and-socket joint lets the wheel steer while the suspension moves, and it lives under the rack’s accordion boot. The outer tie rod end is the short arm bolted to the steering knuckle; its tapered ball joint turns steering input into wheel movement. The threaded connection between them is the toe adjustment.
Here is the comparison that matters:
| Characteristic | Inner tie rod | Outer tie rod end |
|---|---|---|
| Where it lives | Threads into the steering rack, under the accordion boot | Bolted to the steering knuckle at the wheel |
| Joint type | Ball-and-socket joint at the rack end | Tapered ball joint (ball-stud) at the knuckle |
| What wears out | Socket loosens; torn boots admit grit | Ball-stud loosens; dust boot splits |
| Typical failure mileage | Often later; many cars never need them | 80,000–120,000 miles on original parts |
| DIY difficulty | Hard — thin wrench or inner-rod tool needed | Moderate — separator tool and patience with rust |
| Shop cost per side (band) | $300–$600 with alignment | $250–$500 with alignment |
| Diagnosed how | Movement at the rack end with the boot pulled back | Play at the knuckle in the 9-and-3 test |
One community-tested piece of advice keeps surfacing: if either joint is worn at high mileage, replace the whole assembly on that side. The price difference between an outer end alone and a complete OE-supplier tie rod assembly is often small (well under $100 per side for the parts), and it eliminates the tie rod as a variable for the rest of the car’s life. If only the outer end is worn and the inner boot is intact and dry, replacing just the outer end is entirely reasonable.
The symptoms, ranked by how they arrive
Tie rods rarely fail suddenly — they wear, and the symptoms stack up in a rough order. Catching the early ones saves tires.
| Symptom | What it feels or looks like | Points to |
|---|---|---|
| Uneven front-tire wear | Feathered or scrubbed edges, often the inner edge | Outer tie rod first; toe drift from either joint |
| Steering play / wander | Wheel turns before the car responds; constant highway correction | Either joint — the wiggle test tells you which |
| Clunk or knock over bumps | Dull single knock from one corner over potholes or speed bumps | Outer tie rod end most often |
| Steering-wheel vibration | Shimmy through the wheel at cruising speed | Worn joint allowing oscillation; rule out balance first |
| Steering wheel off-center | Wheel crooked while the car tracks straight — often right after the repair | Toe changed by the repair — align immediately |
| Grease on the knuckle | Dark grease around the outer joint; split dust boot | Outer tie rod end — the seal has failed |
The tire-wear symptom deserves special attention, because it is the expensive one. A worn tie rod changes toe — the angle of each tire relative to the car’s centerline. Even a small toe error scrubs rubber with every revolution, and rotating the tires does not reset it. If your front tires are wearing on the inner edges and an alignment has not been done in a while, check the tie rods first — aligning a car with a loose joint is pointless, because the toe you paid to set will not hold.
Do not confuse this with the thrust-arm bushing’s signature 50–60 mph shimmy. If that description matches better — shake in a narrow speed band, worse under light braking — read the control arm bushing guide before buying tie rods.
Interactive: tie rod symptom & cost checker
Tie rod symptom & cost checker
Three questions, one answer: the likely culprit plus the cost band for each repair path. Bands are owner-reported estimates; every shop figure includes the mandatory alignment.
How to diagnose it yourself: the tests that separate tie rods from lookalikes
You can narrow this down in a driveway with the car safely on jack stands — no alignment rack needed, and no parts purchased until you know what is moving. Never work under a car supported only by a jack: stands on solid ground, wheels chocked, parking brake set.
The 9-and-3 wiggle test
Jack up the front and grab one front tire at 9 and 3 o’clock, pushing and pulling it side to side — the horizontal plane the tie rods control. Have a helper watch or lay a hand on the two tie rod joints while you wiggle: movement at the outer ball joint by the knuckle means the outer end is worn; movement at the rod near the rack, under the boot, means the inner is worn. If the whole rack moves, you are looking at rack bushings or internal rack play, not tie rods.
The critical comparison: rock the wheel while watching the steering. There should be no delay between the wheel moving and the tire responding, and no click or clunk. Even a millimeter of play at the joint multiplies into several degrees of slop at the steering wheel.
Boot inspection: what the rubber tells you
Peel back the small boot on the outer tie rod end and look for dark grease where it should be clean — a split dust boot means the ball joint has been running dry and is on borrowed time. For the inner joint, inspect the rack’s accordion boot from underneath: tears, loose clamps, or flung grease mean grit has reached the inner socket, and the joint is suspect even if the wiggle test is inconclusive. A torn boot is a replace-it-now situation, because the joint it was protecting is next.
Reading the tires
Run your palm across the tread blocks of each front tire, in both directions. Toe wear feels like a sawtooth — smooth one way, rough the other. Wear on just one front tire points to that side’s tie rod; wear on both suggests both joints are aging together or a general alignment drift. Confirm with the wiggle test before spending money: camber and pressure issues wear tires too, in different patterns.
When the alignment shop finds it
This is the other common way owners discover the problem: the car goes in for an alignment, and the technician reports the inner tie rods are too loose to set toe. A reputable shop will refuse to align over a worn joint — the numbers will not hold. That refusal is not a sales tactic; it is the correct call. The fix order is always the same: replace the worn joint first, align second.
E90 vs. F30 vs. G20: generation notes
The steering hardware is conceptually identical across generations — rack, inner tie rod under a boot, threaded joint, outer end at the knuckle — but the details shift enough to matter when you order parts.
- E90/E91/E92/E93 (2006–2013): Hydraulic power steering on most models; the self-locking nut at the outer ball joint must be replaced whenever removed (single-use hardware per BMW). E90 outers are among the most most-replaced chassis parts on this generation.
- F30/F31/F34 (2012–2019): Electric power steering throughout, but the tie rod arrangement is essentially the same. BMW TIS procedure RA 32 21 151 — which mandates the post-repair alignment check and sensor adjustment — documents this chassis family directly. Rust is the usual difficulty multiplier.
- G20/G21 (2019+): Also electric steering, similar service procedure. Many G20s are still young for tie rod failure, but early high-mileage cars are entering the window.
One ordering caution from owner reports: outer tie rod ends are side-specific (left vs. right) on some 3 Series applications — the arm’s bend is shaped to clear the strut at full steering lock. Verify the part matches the side you are replacing; swapping them can reduce steering lock and cost a second alignment.
DIY difficulty: outer vs. inner, honestly rated
An outer tie rod end is one of the friendliest steering jobs for a home mechanic — a solid afternoon’s work with basic tools. An inner tie rod is the next level up: nothing exotic, but it needs a special thin wrench or inner-rod tool and care with the rack boot. Neither job needs a lift; jack stands work. Both need a wheel alignment afterward, which is shop work.
| Job | Difficulty | Time per side | Special tools | DIY or shop? |
|---|---|---|---|---|
| Outer tie rod end | Moderate — 3/10 | 45–90 min (rust dependent) | Ball-joint separator, tape measure | DIY-friendly; shop alignment after |
| Inner tie rod | Hard — 6/10 | 1.5–3 hours | Inner-tie-rod tool or thin wrench, boot clamp pliers | DIY if comfortable under the car; otherwise shop |
| Whole assembly, both sides | Hard — 6/10 | Half a day | Both tool sets above | DIY if doing inners anyway; shop quote is sensible too |
Outer tie rod replacement: step by step
This follows the outline of BMW TIS procedure RA 32 21 151. Read it through before touching a wrench — the measurement trick in step 1 is what gets you to the alignment shop instead of a tow truck.
- 1. Measure before you disturb anything. Measure the exposed thread or the distance from the jam nut to a fixed point on the rod (BMW calls this measurement “A”); counting the exact number of turns as you unthread the old end is the popular backup. Neither substitutes for an alignment — they only get the new end close enough to drive to the shop without destroying tires. A quarter-turn error here moves toe dramatically.
- 2. Wheel off, car on stands. Loosen the lug bolts, raise the front, set jack stands, remove the wheel. Chock the rear wheels and set the parking brake.
- 3. Break the ball joint free. Remove the self-locking nut at the knuckle — BMW specifies a new self-locking nut on reinstallation, so do not reuse it. Separate the tapered stud from the knuckle with a ball-joint separator. Do not use an impact tool on the joint itself, and keep the rubber gaiter undamaged.
- 4. Unthread the old end. Loosen the jam/clamp nut, then unscrew the outer end from the inner rod — grip the inner rod with an open-end wrench so it does not turn in the rack. Count the turns.
- 5. Install the new end. Thread the new end on to the same turn count (or measurement A), tighten the jam nut, and seat the stud in the knuckle with a fresh self-locking nut. Tighten every fastener to the torque value listed for your chassis in BMW TIS — specs are model-specific, so look them up rather than guessing. Keep the tapered connection clean and free of grease and oil.
- 6. Reinstall the wheel, lower the car, and book the alignment immediately. Drive gently. Toe will be wrong, and every mile scrubs rubber.
Inner tie rod replacement: step by step
Everything above, plus the rack-end work. Remove the outer tie rod end first (steps 1–4 above), then:
- 1. Release the rack boot. Remove the outer clamp and the large band clamp at the rack housing, then slide the boot back to expose the inner joint where it threads into the rack. Inspect the boot for tears while it is off — a torn boot is why many inner joints fail, and it gets replaced now regardless.
- 2. Unthread the inner rod from the rack. The joint’s large hex sits close to the rack housing, so a thin open-end wrench or a dedicated inner-tie-rod tool is needed; a standard wrench often will not fit. Some applications use a locking plate under the joint — it usually does not survive removal, so have a new one on hand. Grip only the rod, never the rack shaft.
- 3. Install the new inner rod. Thread it into the rack by hand to avoid cross-threading, then tighten to the chassis-specific TIS torque value. Fit the new locking plate where the design uses one.
- 4. Refit the boot with new clamps. Seat the boot fully on the housing and the rod, tighten the clamps, and confirm it is not twisted — a twisted boot fails early and admits the grit that killed the old joint.
- 5. Refit the outer end and go straight to alignment. Measured turn count, new self-locking nut, then the alignment shop.
The two things BMW demands afterward
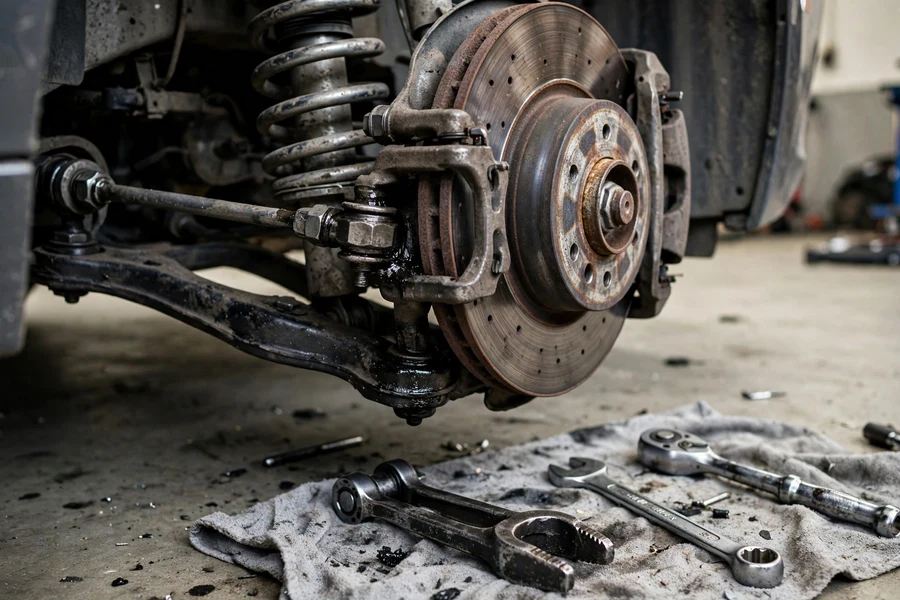
This is the part DIYers are most tempted to skip, and BMW’s technical instructions are unusually blunt about it. Procedure RA 32 21 151 states that whenever the tie rod end-to-tie rod connection is released, a wheel/chassis alignment check is required after reinstallation — and adds a second step many independents forget: the steering-angle sensor must be recalibrated.
The alignment is non-negotiable. The threaded tie rod connection is the toe adjustment — disturb it and toe changes, with no “put it back where it was” trick precise enough to skip the rack. Budget $100–$200 for a front alignment; it belongs in every cost band below. The sequence is fixed: replace the worn joint first, then align. Aligning over a loose joint sets numbers that will not hold, which is why good shops refuse the job until the part is replaced.
The steering-angle sensor reset matters on modern cars. Stability control compares the steering-wheel angle sensor against yaw and wheel-speed sensors to decide when to intervene. If the sensor’s center no longer matches the wheels’ true straight-ahead, the car can brake individual wheels at the wrong moment or throw stability-control faults. Any competent BMW alignment shop does this as part of the alignment — confirm it is included when you book, especially with generalist tire shops.
One more TIS detail worth repeating: keep the tapered connection clean and free of oil and grease, use a new self-locking nut, and never separate the joint with an impact tool. These small disciplines separate a repair that lasts from one that develops play again within a year.
What it costs: DIY vs. independent vs. dealer
Cost bands below are drawn from owner-reported and shop-estimate data and vary by region, parts choice, and fastener rust. Treat them as bands to judge quotes against, not price promises. All shop figures include the mandatory alignment.
| Job (one side unless noted) | DIY parts only | Independent BMW shop | BMW dealer |
|---|---|---|---|
| Outer tie rod end | $40–$90 (end + new nut) | $250–$500, alignment included | $400–$800, alignment included |
| Inner tie rod | $50–$120 (rod + boot kit + lock plate) | $300–$600, alignment included | $450–$900, alignment included |
| Whole assembly, one side | $70–$150 | $300–$600, alignment included | $500–$950, alignment included |
| All four joints (both sides) | $120–$240 | $600–$1,100, alignment included | $900–$1,600, alignment included |
The pattern to notice: the parts are cheap and the labor is the money. An OE-supplier outer end is a sub-$100 part on under an hour of book time — which is why the shop figure for one outer end is mostly labor and alignment. The dealer multiplier comes almost entirely from labor rates, not parts. And doing both sides at once is nearly always cheaper per side than two visits, because the alignment is a fixed cost either way.
Buying parts without regrets
- Buy the OE supplier, not the mystery brand. BMW steering components come from OE suppliers such as Lemförder, and owner reports consistently favor those for ball-joint longevity. The cheapest no-name ends are a false economy on a part whose failure wears $400 worth of tires.
- Replace in pairs at high mileage. If one outer end is worn at 110,000 miles, the other side has lived the same life. Doing both sides in one visit costs one alignment instead of two.
- Order the small parts with the big one. The knuckle’s self-locking nut is single-use. For inner rods, add the rack boot kit and locking plate — the old plate usually does not survive removal.
- Confirm left vs. right. Some 3 Series outer ends are side-specific, with the arm bent to clear the strut at full lock. Ordering the wrong side means doing the job twice and paying for two alignments.
- Keep the alignment printout. A before-and-after toe printout from the shop is the only proof the job was finished correctly. If the car pulls or the wheel is crooked afterward, that printout is your warranty claim.
For the bigger ownership picture, the 3 Series maintenance schedule places this repair in the high-mileage front-end service window, and the brake pad replacement cost guide is worth a read if your “tie rod clunk” turned out to be brake hardware on diagnosis — the two get confused more often than owners admit.
FAQ
How do I know if it’s the inner or the outer tie rod?
Run the 9-and-3 wiggle test with the front wheels off the ground and feel each joint while a helper moves the wheel. Play at the ball joint by the knuckle means the outer end; movement at the rack end under the boot means the inner. If both move, do the whole assembly on that side — the cost difference is small.
Can I drive with a worn tie rod?
Short distances at moderate speed, to the shop — the joint rarely separates without warning. But every mile scrubs the tires and the steering keeps degrading. Treat it as a this-week repair and avoid highway speeds if play is severe.
Is a wheel alignment really required after replacing tie rods?
Yes. The threaded tie rod connection is the toe adjustment, so disturbing it changes toe — BMW TIS RA 32 21 151 requires a wheel/chassis alignment check plus a steering-angle sensor adjustment afterward. Thread-counting only gets you to the shop.
Should I replace tie rods in pairs?
At high mileage, yes. Both sides have lived the same life, and the alignment is a fixed cost either way — two separate visits means two alignments. Doing both at once cuts the per-side cost substantially.
Why is my steering wheel crooked after tie rod replacement?
The new end was threaded to a slightly different length than the old one, so toe is off and the wheel sits off-center while the car tracks straight. This is normal immediately after the repair and is exactly what the alignment corrects — drive gently to the shop instead of adjusting by eye.
A worn tie rod is a small part with an outsized invoice attached — not because the part is expensive, but because of what it does to tires while you ignore it. Diagnose with the wiggle test before buying anything, measure before unthreading, use fresh single-use hardware, and treat the alignment as part of the job rather than an optional extra. Done that way, it is a once-in-the-car’s-life repair. If the front end still is not right afterward, the complete BMW 3 Series guide maps the rest of the chassis wear items that fail in the same mileage window.