How to Replace Your BMW 3 Series A/C Compressor
Short answer: BMW 3 Series A/C compressor replacement is a full-day DIY at difficulty 6/10: recover the refrigerant at a shop first (venting it is illegal), swap the compressor with new o-rings and a new receiver-drier, balance the PAG oil, vacuum the system for 45+ minutes, and recharge by weight. E90 and F30 cars use R134a; the G20 uses R1234yf. Expect roughly $350–$700 DIY, $800–$1,400 at an independent shop, or $1,400–$2,200 at a dealer.
This is the replacement procedure only. If you have not yet proven the compressor is the problem, stop here and read our BMW 3 Series A/C diagnosis guide first — most warm-air faults turn out to be low refrigerant from a leak, not a dead compressor, and nothing in this article repeats that diagnostic walkthrough.
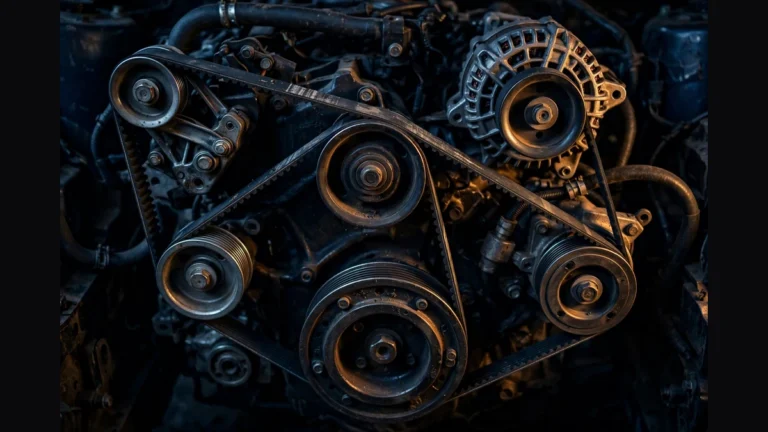
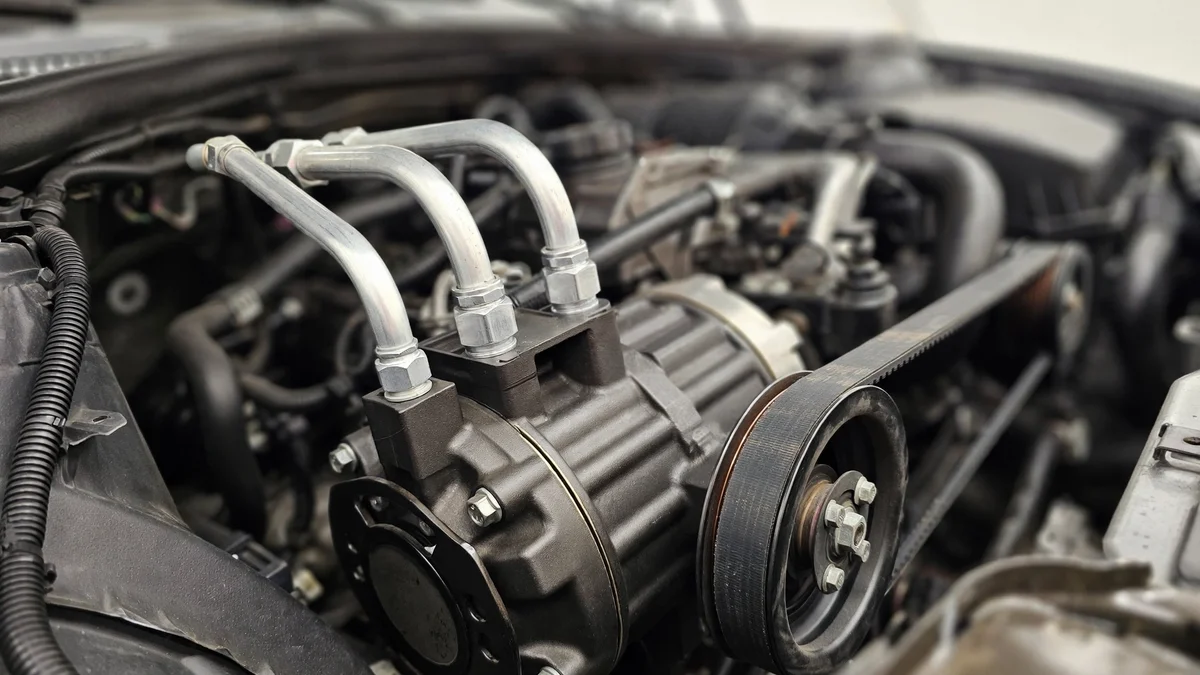
A compressor swap on the E90, F30 and G20 is mechanically straightforward — the compressor hangs off the front of the engine, driven by the accessory belt, held by three or four bolts and two line connections. The hard part is not the wrenching. It is everything around it: handling refrigerant legally, getting the oil quantity right, keeping the system dry, and recharging by weight instead of by guess. Get those four right and the compressor will last. Get any one wrong and you can kill a brand-new compressor in a week.
In this guide
- Confirming the compressor is really the fault
- Refrigerant type and charge by generation
- Tools and parts you will need
- DIY-or-shop planner (interactive)
- Are you ready for this job? (quiz)
- Step-by-step replacement procedure
- Oil balancing: the step that kills compressors
- O-rings, drier and belt
- Vacuum and recharge
- Cost comparison: dealer vs independent vs DIY
- Common mistakes that destroy new compressors
- A/C compressor replacement FAQ
Confirming the compressor is really the fault
Replacing a compressor that was never bad is the most expensive mistake in this whole job, so the confirmation step is short and non-negotiable. Full pressure and electrical diagnosis lives in our A/C not blowing cold guide — what belongs here is only the pass/fail evidence that points at the compressor itself.
| Evidence | What it means | Replace compressor? |
|---|---|---|
| Grinding, rattling or whining from the compressor area that changes with A/C on vs off | Internal mechanical wear — bearings or swash-plate failing | Yes — mechanical failure |
| System holds pressure and charge is correct, but vent air never cools and high/low pressures barely move with the A/C on | Compressor not pumping — failed control valve or internal bypass on clutchless units | Yes — after checking the control-valve signal |
| Visible oil/dye residue at the compressor shaft seal or line fittings | Compressor seal leak — slow charge loss from the unit itself | Yes, if the seal has failed (and only the compressor, if no debris) |
| Charge is low and gauges show a leak elsewhere (condenser, lines, evaporator) | The compressor is a victim, not the cause | No — fix the leak first |
| Pulley wobbles or the belt squeals only with A/C on, but cooling is fine | Failing pulley bearing or belt issue, compressor internals may be fine | Maybe — inspect; some units allow pulley/bearing service |
One nuance matters on most of these cars: the majority of E90, F30 and G20 compressors are clutchless variable-displacement units (the Denso 7SEU family and equivalents) — the pulley always spins with the belt, and a control valve varies output. There is no clutch that clicks on and off, so “the clutch isn’t engaging” is not a valid test here; a few early E90 cars did use conventional clutch-type compressors. If your gauges show a correct charge but pressures barely react when the A/C switches on, the control valve or the compressor’s internals are the prime suspects.
Refrigerant type and charge by generation
Use the wrong refrigerant or the wrong oil and the job is ruined before it starts. The generations split cleanly:
| Generation | Refrigerant | Typical charge weight | Compressor oil |
|---|---|---|---|
| E90 (2006–2011) | R134a | 590–620 g | PAG 46 (Denso NDoil 8 type) |
| F30 (2012–2018) | R134a | 550 g | PAG 46 (Denso NDoil 8 type) |
| G20 (2019+) | R1234yf | 550 g | PAG rated for R1234yf (Denso NDoil 12 type — never NDoil 8) |
Charge weights above are typical values from NRF’s 2020 A/C filling chart — the under-hood label on your car is the final word, and the recharge must be done by weight, not by gauge pressure. Denso’s own compressor-oil bulletin states that NDoil 8 (PAG 46) is for R134a systems, while NDoil 12 is the PAG 46 formulation rated for R1234yf, and that NDoil 8 must never be used in an R1234yf system because it breaks down in contact with the refrigerant. Never mix refrigerants, and never use “universal” top-up cans of a different refrigerant type.
Tools and parts you will need
Buy the parts before you open the system — once it is open, the clock is running on moisture exposure, and the receiver-drier starts saturating.
| Item | Notes | Typical US cost |
|---|---|---|
| New or remanufactured compressor | Match by generation and refrigerant; Denso/OEM-supplier units are the safe choice. Confirm clutchless vs clutch type for early E90. | $250–$450 |
| Receiver-drier | Always replaced when the system is opened. On the E90 it sits in a tube on the condenser and can be swapped without removing the condenser. | $40–$90 |
| O-ring set (HNBR, A/C rated) | Every fitting you open gets a new o-ring. Lubricate with clean PAG oil on assembly. | $10–$20 |
| PAG oil (correct type for your refrigerant) | PAG 46 / NDoil 8 type for R134a (E90/F30); R1234yf-rated PAG for G20. Never mix types. | $12–$25 |
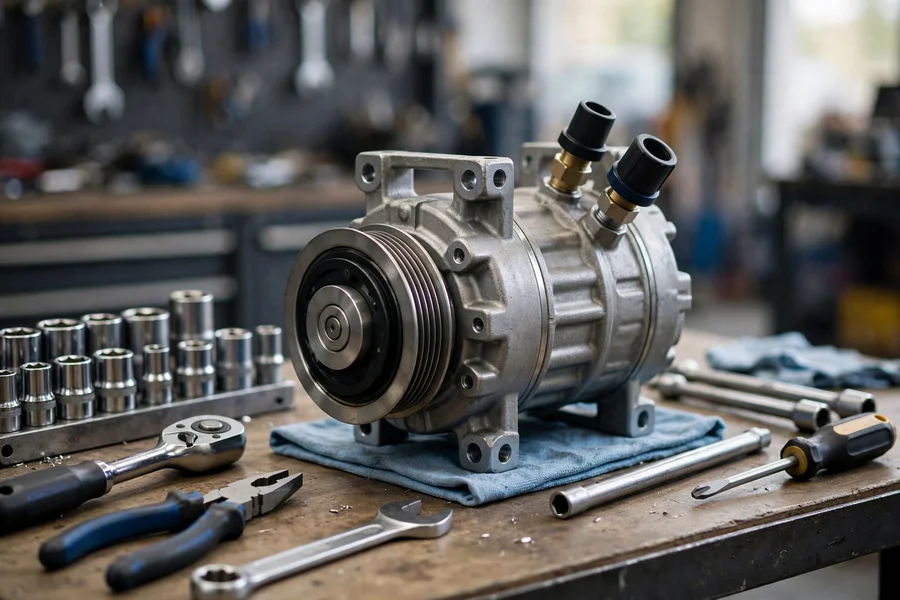
| Socket set, extensions, hex and Torx bits | Line-block fittings are commonly 6 mm hex; compressor mounting bolts are often external Torx. | Own set |
| Belt routing diagram or photo | Take a photo before removing the accessory belt. Some engines use a tensioner (Torx), others a stretch-fit belt — check yours before ordering parts. | Free |
| Manifold gauge set + vacuum pump | Needed for the 45+ minute evacuation and leak check. A shop can do the evac/recharge for you instead. | $60–$120 to buy; $100–$200 for a shop evac + recharge |
| Caps/plugs for open lines | Seal every open fitting immediately — moisture is the enemy. | A few dollars |
The one thing you cannot DIY around is the refrigerant itself: recovery requires certified equipment under EPA rules, covered in the legal section below. Budget a shop visit for evacuation and recharge even if you do all the wrenching.
DIY-or-shop planner
Five questions, one honest verdict: whether this job fits your tools and experience, what it should cost on each path, and the generation-specific traps to avoid.
A/C compressor: DIY-or-shop planner
Answer all five, then get your plan:
Are you ready for this job? Quick quiz
Five yes-or-no checks. Be honest — the A/C system punishes optimism.
Compressor-job readiness check
Tick every statement that is true for you:
Step-by-step replacement procedure
Difficulty 6/10, rising to 8/10 if the old compressor sent debris through the system. A first-timer should budget 4–6 hours of wrenching plus two shop visits (recovery before, vacuum + recharge after) — or one visit if the shop does the final evacuation and recharge in a single appointment. Read every step before touching a bolt.
| Step | What to do | Why it matters |
|---|---|---|
| 1 | Have the refrigerant professionally recovered with certified equipment. Confirm the system reads zero pressure before proceeding. | Knowingly venting refrigerant violates the Clean Air Act's venting prohibition; opening a pressurized system is also dangerous. |
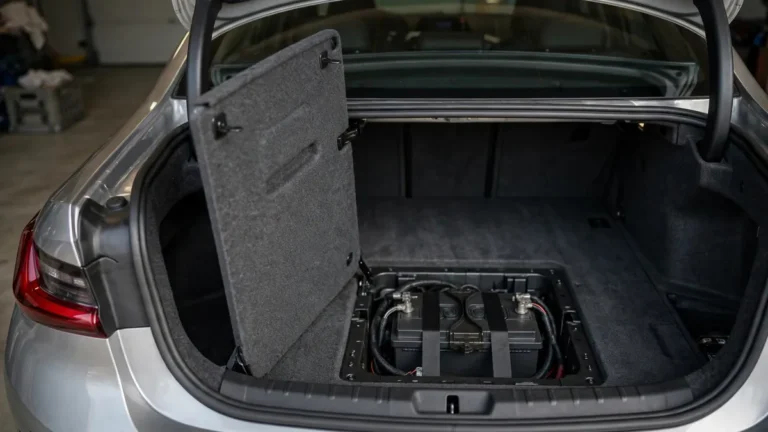
| 2 | Disconnect the battery negative terminal. Remove the engine cover and, if needed, the underbody splash panels for access. | Protects electronics and gives you room; the compressor sits low on the engine. |
| 3 | Photograph the accessory belt routing. Release the tensioner and slip the belt off the compressor pulley. Inspect the belt for cracks — replace it while it is off if worn. | Wrong routing on reassembly destroys accessories; a worn belt is false economy to reuse. See our serpentine belt guide if yours is due. |
| 4 | Unplug the compressor's electrical connector (the control-valve solenoid on clutchless units). | Prevents harness damage when the unit drops out. |
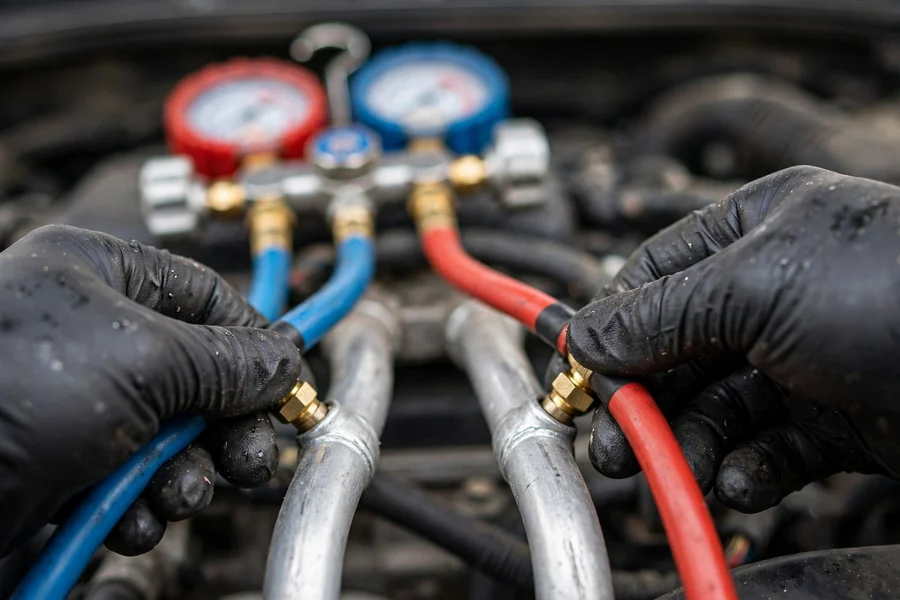
| 5 | Remove the two refrigerant line block fittings at the compressor (commonly 6 mm hex). Cap every open line immediately. | Open fittings ingest moisture within minutes; the drier can only absorb so much. |
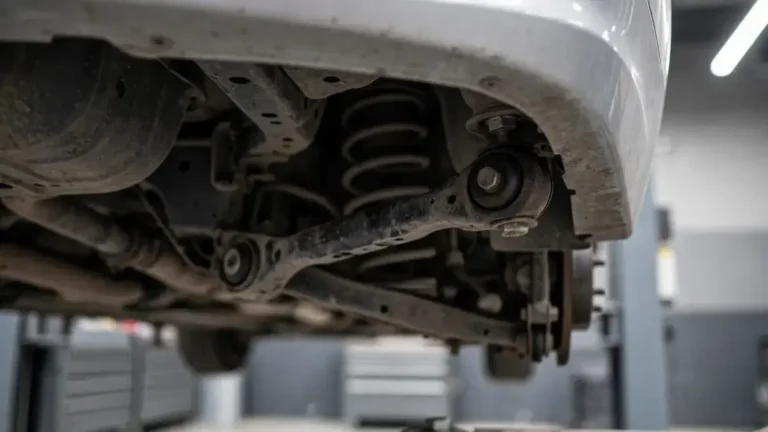
| 6 | Remove the compressor mounting bolts — typically three long bolts, often external Torx on the E90. Access varies by engine: from below after removing the fan and panels, or from above with the engine lifted slightly. On some E90 engines, two small bolts on the thermostat housing must come out first to reach a hidden compressor bolt. | Forcing access bends lines and brackets. Many owners report the electric fan removal opens up the needed room. |
| 7 | Lower the compressor out. Drain its oil into a clean graduated cup and measure it. Inspect the drained oil for metal glitter or grey sludge. | The measured amount sets the new compressor's oil fill. Debris here changes the whole job — see the next section. |
| 8 | If debris is present: flush the lines with A/C flush solvent, replace the condenser (parallel-flow units cannot be reliably flushed) and the expansion valve. | Skipping this is the #1 cause of repeat compressor failure — the new unit ingests the old unit's shrapnel. |
| 9 | Balance the oil: drain the new compressor's shipping oil, then add the same amount of fresh PAG oil you measured from the old unit (details below). | Too little oil seizes the new compressor; too much slugs it and kills cooling performance. |
| 10 | Fit new HNBR o-rings on every opened fitting, lightly coated with clean PAG oil. Install the new receiver-drier. | O-rings are single-use. The drier is saturated from the moment the system opens. |
| 11 | Mount the new compressor and tighten all fasteners to the BMW TIS/ISTA torque specifications for your engine. Several mounting fasteners are one-time-use — replace, don't reuse, per BMW guidance. | Over-tightening cracks the compressor's aluminum line block; under-tightening leaks. |
| 12 | Reconnect the lines and electrical connector. Refit the belt in the photographed routing. Rotate the compressor shaft at least 10 full turns by hand (clockwise viewed from the pulley) before any refrigerant goes in. | Distributes oil through the compressor so it never starts dry. A liquid-locked compressor can snap its internals on first start. |
| 13 | Evacuate with a vacuum pump for at least 45 minutes, close the valves, and watch the gauges: vacuum must hold. Then recharge by weight to the under-hood label figure. | Vacuum boils off moisture; a holding vacuum proves the system is sealed. Charging by weight is the only accurate method. |
| 14 | Start the engine, run the A/C on max, and verify: cold vent air, normal gauge behavior, no leaks at any fitting (recheck after a drive cycle). | Fittings can weep after heat cycling — the recheck catches it. |
Oil balancing: the step that kills compressors
Refrigerant carries the compressor's oil around the loop, so the total oil in the system must stay correct after a compressor swap. BMW's own repair information (TIS) includes a procedure for determining the refrigerant-oil quantity for a new compressor — but the practical method every A/C technician uses is drain, measure, and match:
- Drain the old compressor completely into a clean graduated cup and measure the volume. Hand-turn the pulley while draining to get it all out.
- Drain the new compressor's shipping oil into a separate cup — never assume the factory fill is the correct amount for your car.
- Add the same volume of fresh PAG oil to the new compressor through the suction port: PAG 46 (Denso NDoil 8 type) for R134a cars (E90/F30), and a PAG oil rated for R1234yf (Denso NDoil 12 type) for the G20. Denso's oil bulletin is explicit that NDoil 8 must never be used in an R1234yf system.
- If you also replaced the condenser or drier, add the small additional amount the component manufacturer specifies for that part — oil lives in every component, not just the compressor.
- After the lines are connected and before charging, rotate the compressor shaft at least 10 full turns by hand to move oil through the unit.
If the old compressor was nearly dry — common when the system ran low on charge for a long time — do not copy "almost nothing." In that case the rest of the system's oil is distributed through the other components, and the correct move is the amount specified for a compressor replacement in BMW's repair data or the new compressor's installation sheet, which ships in the box with Denso units. When in doubt, a shop with an A/C service station measures and fills this precisely.
O-rings, drier and belt
Three cheap parts decide whether the expensive part survives. Every refrigerant fitting you opened gets a new HNBR o-ring — A/C-rated, lightly coated in clean PAG oil before assembly. Reused o-rings are the most common source of slow leaks after a compressor job, and a slow leak starves the new compressor of both refrigerant and oil.
The receiver-drier is replaced every time the system is opened, no exceptions. It is the system's moisture sponge, and once exposed to atmosphere it saturates quickly — a saturated drier lets moisture circulate, which forms acids that attack the new compressor from the inside. On the E90 the drier lives in a tube on the condenser and can be swapped without removing the condenser itself.
While the accessory belt is off, inspect it and the tensioner. If the belt shows cracking or the tensioner feels gritty, replace them now — the labor is already free. Our serpentine belt replacement guide covers intervals and the tensioner check.
Vacuum and recharge
The final phase is where DIY jobs most often go wrong, so there are exactly two acceptable ways to do it: with your own manifold gauges and vacuum pump, or at a shop with an A/C service station. Either way the sequence is identical.
- Evacuate for at least 45 minutes. The deep vacuum boils moisture out of the oil and components. Then close the manifold valves and watch: if vacuum decays, you have a leak — find it before adding refrigerant.
- Charge by weight, not by pressure. Put the refrigerant canister on a scale and add exactly the under-hood label figure (typical: 590–620 g E90, 550 g F30, 550 g G20 — label wins). Pressure readings vary with ambient temperature and humidity; weight does not.
- Use only the correct refrigerant. R134a for E90/F30, R1234yf for G20. The fittings are different sizes precisely to prevent cross-contamination — never adapt around them.
- Leak-check every fitting you touched, ideally with an electronic leak detector or UV dye, and recheck after the first full heat cycle.
The legal part: refrigerant handling
Under EPA rules for motor-vehicle air conditioning (Clean Air Act Section 609), knowingly venting refrigerant is prohibited — certified recovery equipment must be used to remove refrigerant before any service that could release it, and recovered refrigerant must be recycled or reclaimed before reuse. Technicians who service A/C systems for payment must hold Section 609 certification and use EPA-certified equipment. Federal civil penalties for refrigerant violations can exceed $100,000 per day per violation under the inflation-adjusted Clean Air Act penalty schedule (40 CFR 19.4). The practical takeaway for this job: the recovery step happens at a shop with a recovery machine, full stop. (Regulatory details: EPA's MVAC servicing requirements page.)

Cost comparison: dealer vs independent vs DIY
All figures below are typical US ranges compiled from owner-reported invoices and parts pricing — your region, engine, and whether debris cleanup is needed will move the needle.
| Path | What you get | Typical total |
|---|---|---|
| BMW dealer | OEM compressor, drier, o-rings, oil, evacuation + recharge, warranty on parts and labor | $1,400–$2,200 |
| Independent BMW specialist | Same scope, often with OEM-supplier (e.g. Denso) compressor; 2–4 hours labor typical | $800–$1,400 |
| DIY (hybrid: you wrench, shop recovers/recharges) | New/reman compressor $250–$450, drier $40–$90, o-rings + oil ~$25, shop recovery + recharge $100–$200 | $350–$700 |
Typical A/C compressor replacement cost by path (US, approximate)
Bar widths reflect range midpoints against $2,200. Debris cleanup (flush + condenser) adds roughly $200–$500 in parts on any path.
The hybrid path is the value sweet spot for most owners: the only parts of the job that legally require a shop are recovery and recharge, and those cost a fraction of full shop labor. What you are really buying at a dealer is warranty coverage and zero risk of the oil/debris mistakes below.
Common mistakes that destroy new compressors
| Mistake | What happens |
|---|---|
| Not flushing after a seized compressor | Metal debris from the old unit circulates into the new one — repeat failure within days or weeks. |
| Wrong oil quantity | Too little: the new compressor seizes. Too much: liquid slugging, poor cooling, blown seals. |
| Wrong oil type | NDoil 8 / standard PAG 46 in a G20 R1234yf system breaks down and damages the system (per Denso's bulletin). Mixing oil types degrades lubrication. |
| Reusing o-rings or skipping the drier | Slow leaks return within months; moisture forms acids that eat the compressor internally. |
| Skipping the vacuum step | Trapped moisture and air cause acid formation, ice at the expansion valve, and reduced cooling. |
| Charging by pressure instead of weight | Over- or under-charge — both cut cooling and shorten compressor life. Only the scale is accurate. |
| Not rotating the shaft before charging | The compressor starts dry and scores its internals on the first engagement. |
| Venting refrigerant to "empty" the system | Illegal under the Clean Air Act, dangerous, and unnecessary — a shop recovery costs around $100–$200. |
A/C compressor replacement FAQ
Can I replace the compressor without evacuating the system first?
No. Opening a charged system releases refrigerant under pressure — dangerous to you and illegal to vent under the Clean Air Act. Have a shop recover the refrigerant with certified equipment first; it typically costs $100–$200 and takes under an hour.
How much PAG oil does the new compressor need?
Drain and measure the oil from the old compressor and add the same volume of fresh oil to the new one — PAG 46 (Denso NDoil 8 type) for R134a cars (E90/F30), R1234yf-rated PAG (Denso NDoil 12 type) for the G20. If the old unit was nearly dry from running low on charge, follow the quantity in the new compressor's installation sheet or BMW repair data rather than copying "almost nothing."
Do I have to replace the condenser too?
Only if the old compressor failed internally and sent metal debris through the system — check the drained oil for glitter or grey sludge. Parallel-flow condensers cannot be reliably flushed, so debris means a new condenser plus a flush of the lines and a new expansion valve. If the compressor failed cleanly (seal leak, weak pumping, bad bearing), the condenser stays.
My compressor has no clutch — can the clutch be replaced separately?
Most E90/F30/G20 compressors are clutchless variable-displacement units, so there is no clutch to replace — output is controlled by an internal control valve. What can fail separately is the pulley's torque limiter, which is designed to shear if the compressor seizes, saving the belt. A sheared limiter with an otherwise healthy compressor is one of the few cases where you might not need a full compressor.
Can I use R134a in my G20, or R1234yf in my E90/F30?
No — never mix or substitute refrigerants. E90 and F30 systems are engineered for R134a; the G20 is engineered for R1234yf, with different oils, service fittings, and charge weights. The fittings are deliberately different sizes to prevent cross-contamination. Use exactly what the under-hood label specifies.
Done right, a compressor replacement restores factory-cold air for years — the sealed system has no wear items left to fail once the compressor, drier, and o-rings are fresh and the charge is exact. If you have not yet confirmed the compressor is your problem, start with our A/C diagnosis guide before spending a dollar on parts. For the bigger ownership picture, our complete 3 Series guide covers maintenance across all three generations.