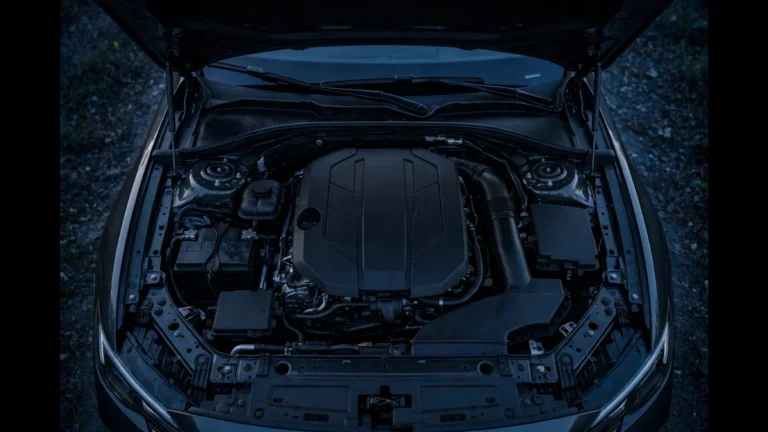
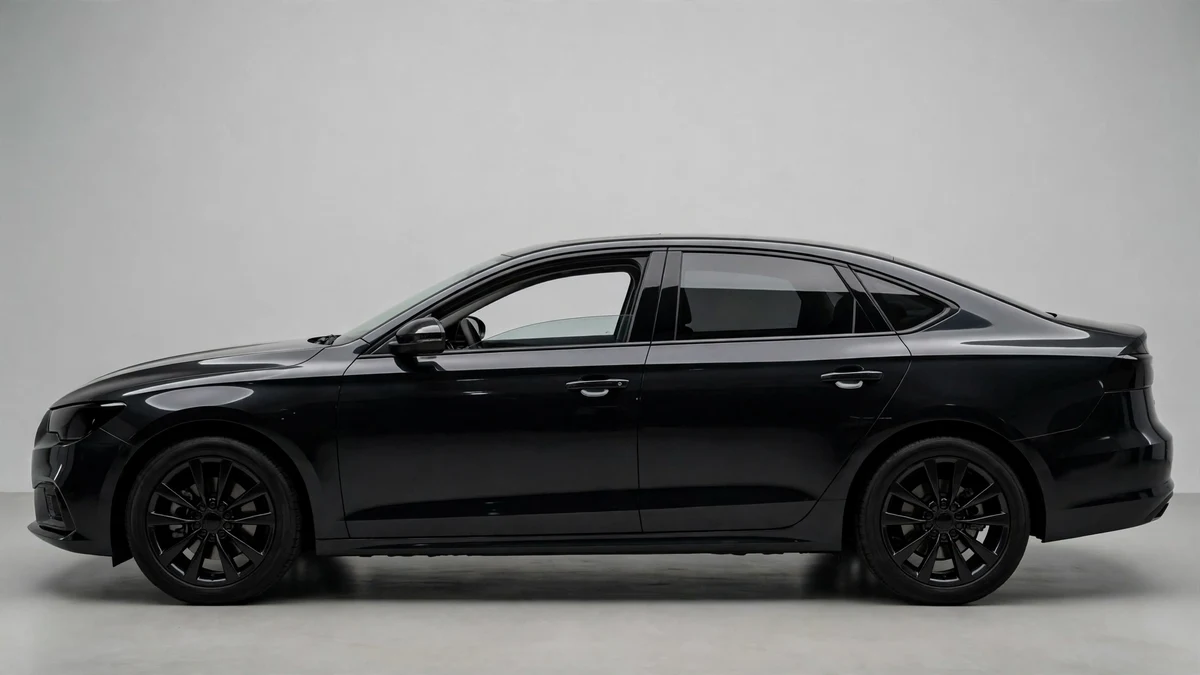
BMW Window Regulator Replacement (E90, F30) DIY Guide
Short answer: BMW window regulator replacement on E90 and F30 3 Series cars is a 3–4/10 difficulty DIY taking 45–60 minutes per window. If the motor hums but the glass doesn’t move — or you can slide the glass by hand — the cable-type regulator has snapped or derailed. Parts run $50–$150 regulator-only, versus roughly $347–$521 at an independent shop and $423–$830 at a dealer.
In this guide
- How the cable-type BMW window regulator works
- The signature failure symptoms
- Regulator, motor, or switch: how to tell the difference
- E90 vs. F30: part numbers and key differences
- Diagnostic picker: regulator, motor, or switch?
- Replacement costs: DIY vs. independent shop vs. dealer
- DIY replacement: the full step-by-step procedure
- Window initialization after replacement
- Keeping the new regulator alive
- Window regulator FAQ
You roll the rear window down to clear the heat out of the car, and it never comes back up. Or you close a window, hear a crunch like stepping on a plastic bottle, and the glass drops into the door with a thud. On E90 (2006–2013) and F30 (2012–2019) 3 Series cars, this is almost always the window regulator — the cable-driven mechanism that moves the glass. BMW used the same basic cable-type design across both generations, so the diagnosis and the DIY are fundamentally the same job on either car.
This guide covers the job the way it actually plays out: how the mechanism fails, how to tell a dead regulator from a dead motor or a bad switch using your ears and your hands, which parts to order, and the full door-card-off procedure — including the window initialization step that most DIYs skip and owners discover only after the “fixed” window misbehaves.
How the cable-type BMW window regulator works
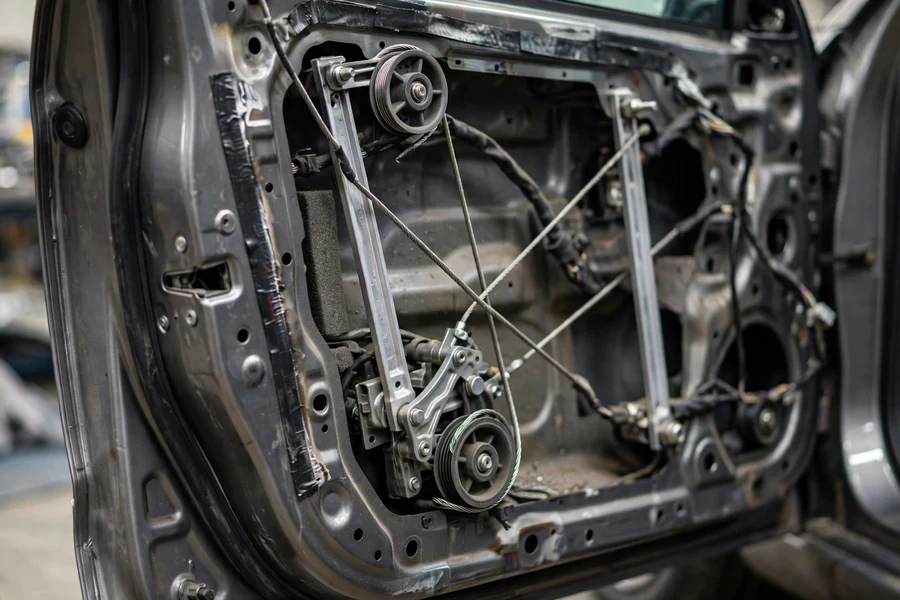
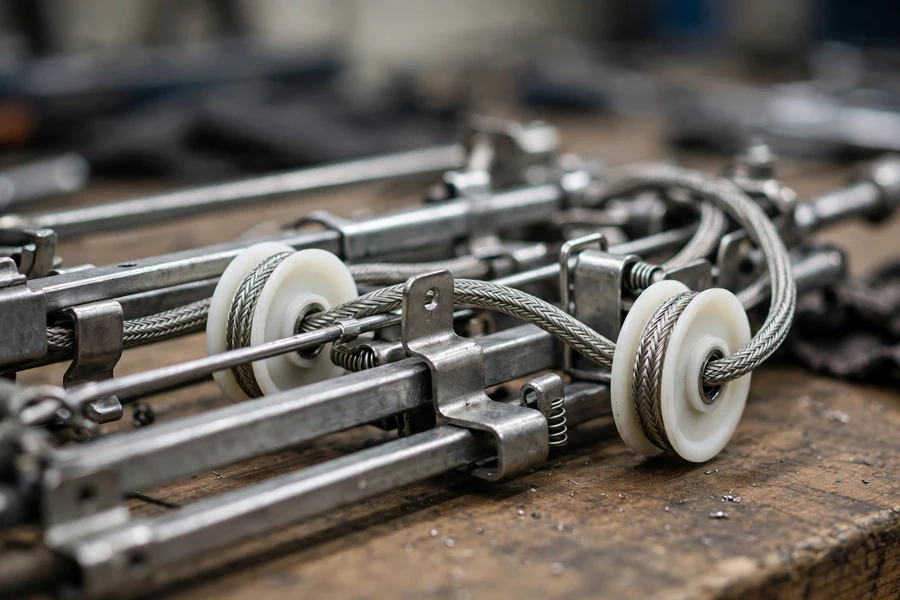
Every E90 and F30 3 Series uses a cable-type regulator — no scissor arms. An electric motor drives a small drum, and a thin braided steel cable winds around that drum and loops between two guide pulleys at the top and bottom of the door frame. Clamped to the cable are one or two glass carriers (glass clamps) that grip the window itself. When the motor turns the drum, the cable hauls the carriers — and the glass — up or down along guide rails.
The system runs under significant cable tension, and the weak points are everything around the cable: the plastic guide pulleys, the plastic cable guides, and the glass clamps. When a plastic pulley cracks or a cable guide breaks, the cable derails — slips off the pulley, tangles, sometimes snaps outright. The motor keeps driving the drum, but nothing connects the drum to the glass. That’s the signature failure: a crunch, then gravity takes the window into the door.
One widely repeated explanation from experienced DIYers: the pulleys rely on factory grease rather than sealed bearings, and years of heat cycles dry that grease out. A dry pulley drags on the cable; the cable frays; the frayed cable derails or snaps. This is owner consensus, not engineering data — but it’s mechanically coherent, and it points to the cheapest preventive step in this guide: re-lubricating the mechanism with dielectric or white-lithium grease.
The signature failure symptoms
A dying BMW window regulator follows a recognizable script:
- Grinding or crunching while the window moves, then it stops or drops. The classic — the cable is derailing off a cracked pulley or broken bracket, then the window jams or falls.
- The window drops into the door on its own. The cable has snapped. Emergency fix: raise the glass by hand and hold it with painter’s tape across the door frame until the repair.
- The window moves slowly, partially, or intermittently. The motor is fighting a dry or fraying cable — the earlier stage of the same failure.
- The window sits tilted or cocked in the track. One glass clamp has loosened or broken — check first, since a backed-off clamp bolt is a cheap fix.
- The window rises a few millimeters, then reverses back down. Not mechanical failure — the anti-trap system is triggering because the window lost its initialization (often after a battery disconnect). The fix is initialization, not a new part.
The table below turns those symptoms into a field-diagnosis matrix — behavioral diagnosis, what you hear and feel. Window mechanisms store no dedicated OBD-II fault codes, so this article lists none: a scanner can log generic FRM (footwell module) electrical entries, but forum history is full of owners who chased phantom electrical faults that turned out to be a snapped cable. Trust the behavior first.
| What you observe | What it means | Next step |
|---|---|---|
| Motor hums, glass doesn’t move | Regulator — cable snapped or derailed; motor still drives the drum | Replace the regulator (motor can usually be reused) |
| Complete silence at the switch | Motor, switch, fuse, or FRM/wiring — test further | Check the fuse, then test motor and switch |
| Works from the driver’s master switch but not the door’s own switch (or vice versa) | Switch (or its connector), not the regulator | Test or replace the switch; check its connector |
| Window moves when you tap the door panel | Worn motor brushes — tapping jars them into contact | Replace the motor; the regulator is likely fine |
| Glass slides freely by hand | Regulator cable snapped — nothing connects glass to motor | Replace the regulator |
| Dead on ALL doors at once | Fuse, FRM, or general electrical — not one regulator | Check fuses and battery; scan before assuming |
| Rises a few mm, then reverses | Initialization lost (pinch protection), not mechanical failure | Initialize the window |
Regulator, motor, or switch: how to tell the difference
The most expensive mistake here is replacing the wrong part — and every failed window “doesn’t work” the same way on the surface. A minute of careful listening separates the three components.
Suspect the regulator when the motor runs but the glass doesn’t follow. Press the switch with your ear near the door: a humming motor with a stationary window means the cable has snapped or derailed. Confirm by hand — free-sliding glass means a broken cable. The money-saving insight: when the motor runs, only the regulator (without motor) needs replacing, and aftermarket regulators are routinely sold exactly that way.
Suspect the motor when there’s silence — or when tapping the door revives the window. Silence points at the motor, switch, fuse, or FRM/wiring. The classic brush test: thump the door panel near the motor while holding the switch — if the window stutters to life, the brushes are worn. A BMW-capable scanner can surface FRM electrical entries; our OBD2 scanner guide covers which tools read BMW-specific modules.
Suspect the switch when the window works from one switch but not the other. If it runs from the driver’s master switch and ignores the door’s own switch (or vice versa), the motor and regulator are both proven good — the fault is the dead switch or its connector. Pop the switch out, check for corrosion, and test it before spending a dollar on parts.
Suspect the car’s electrical system when all windows die together. One dead window is a door problem; four dead windows are a car problem — fuses, battery state, or the FRM. A weak battery can cause odd window behavior and initialization loss (see our increased battery discharge guide), and the same electrical-versus-mechanical framing applies in our won’t-start guide. Fix the car’s electrical health before condemning four regulators.
E90 vs. F30: part numbers and key differences
The design is the same cable-type concept on both generations, and the DIY steps — door card off, vapor barrier, regulator fasteners, motor swap — are essentially identical. What differs is the part number and, critically, how the part is sold. Get this wrong and you’ll pay for a motor you didn’t need, or hold a regulator that doesn’t fit your door.
| Chassis | Position | Part numbers (left / right) | Usually sold | Notes |
|---|---|---|---|---|
| E90 (2006–2013) | Rear | 51357140589 / 51357140590 | Without motor | Verify against your VIN; reuse the old motor if it runs |
| F30 (2012–2019) | Front | 51337281885 / 51337281886 | Often with motor (5-pin assembly) | Comfort-function variant (one-touch + pinch protection); initialization required after replacement |
E90 rear regulators are commonly sold bare — you transfer the old motor with three or four T20 screws. F30 fronts appear in catalogs far more often as a complete assembly with the 5-pin motor, which is why the F30 job costs so much more at a shop. Check the listing before you buy: “with motor” must match what the job needs.
F30 front doors carry the comfort-function variant (one-touch + pinch protection), making initialization after replacement non-negotiable. One caveat: the E90 is far better covered in DIY write-ups, so this guide leads with the well-documented E90 steps and flags where F30 fastener positions differ — F30 owners should compare each fastener against the actual door. For the broader picture, see our E90 vs. F30 comparison.
Diagnostic picker: regulator, motor, or switch?
Answer the four questions below about what your window is doing. The picker applies the same behavioral logic as the diagnosis table and tells you which part to suspect — and what to do next.
Regulator, motor, or switch? — 4-question diagnostic picker
Answer all four questions. The verdict updates automatically.
Answer all four questions above to get your verdict.
Field diagnosis only — window mechanisms store no dedicated fault codes, so this picker works from behavior, not codes. If multiple windows died at once, check fuses and battery first.
Replacement costs: DIY vs. independent shop vs. dealer
This is one of the repairs where DIY saves the most relative to the effort. Figures below come from YourMechanic estimates for the E90 335i, owner-reported purchases, and parts-catalog listings — treat shop numbers as typical ranges, not quotes; labor rates vary sharply by region.
| Route | E90 regulator-only job | F30 front (regulator + motor assembly) |
|---|---|---|
| DIY | $50–$150 (parts only) | $450–$550 (assembly parts ~$483) |
| Independent / mobile mechanic | $347–$521 (parts ~$93, labor ~$161) | $791–$1,463 (assembly job) |
| Dealer | $423–$830 | Above independent — dealer assembly pricing varies widely by region |
The biggest lever on cost is whether the motor comes along. On an E90 rear the DIY bill can be $50; on an F30 front, where the regulator ships as an assembly with the 5-pin motor, the part alone runs ~$483 and the total lands in the $791–$1,463 band. Keep the two jobs separate — comparing an E90 regulator-only DIY to an F30 assembly dealer quote is apples to oranges.
| Part tier | Typical price | Source of figure |
|---|---|---|
| Budget aftermarket | ~$50 | Owner-reported purchase price |
| OEM-brand without motor (e.g., Lemförder, E90 rear) | $68 | RM European listing (OE list price shown: ~$250) |
| Mid-range aftermarket | $80–$150 | Owner reports from BMW parts specialists |
| Dealer / OE | ~$250+ | OE list price reference from RM European listing |
On quality: the $50 budget tier gets the window working, but cable and pulley quality is where cheap regulators cut costs — exactly the components that failed on the original. The mid-range $80–$150 tier is where most experienced DIYers land.
DIY replacement: the full step-by-step procedure
Difficulty: 3–4 out of 10. Time: 45–60 minutes per window (owner-reported; budget longer your first time). No special BMW tools — a hand-tools job. The main risks are breaking door-card clips, tearing the vapor barrier, and the door airbag. Every step is visible and reversible, so it works as a first interior DIY.
The procedure leads with the E90, which dominates the documented DIY write-ups; F30 differences are noted. Our BMW door lock actuator guide covers the same door-card removal — the two jobs share the first half of the work, so do both in one session if a lock is acting up too.
Tools: plastic trim pry tool, T20 and T30 Torx bits, 10mm socket and ratchet, Phillips screwdriver, flathead or utility knife, needle-nose pliers, painter’s tape (to hold the glass), and butyl rope or butyl tape (~$7) for resealing the vapor barrier.
- Deal with the airbag first. Either disconnect the negative battery terminal, or leave the battery connected and never unplug the airbag module. Unplugging it with the battery live sets an airbag warning light.
- Remove the door trim. Pry the wood or aluminum trim strip off starting from the end opposite the hook clip (front doors: near the B-pillar side; rear doors: toward the rear). Remove the Torx screws behind it.
- Free the door pull. Pop the small cover under the door pull handle; remove the Torx screw behind it.
- Remove the air-tunnel screw (front doors). A Phillips screw inside the door’s air-tunnel area — easy to miss, and the card won’t come off with it in place.
- Pop the door card. Work a trim tool around the perimeter, popping the plastic clips, then lift the card UP — it hooks over the top of the door, and lifting clears the lock button and center clip. Expect to sacrifice a clip or two.
- Disconnect and set the card aside. Unplug the speaker (blue connector), the window switch harness, and any other plugs.
- Peel the vapor barrier. It’s glued to the door frame with butyl — peel carefully and preserve it for reuse. It seals the cabin against water; a torn barrier means a wet carpet after the next rain.
- Secure the glass. Tape the glass UP with painter’s tape over the top of the door frame so it can’t drop once freed. If the cable already snapped, the glass may be sitting at the bottom of the door — fish it up by hand and tape it.
- Unplug the motor. Press the release tab (from behind the connector) and disconnect the motor plug.
- Free the glass from the regulator. Remove the glass-clamp bolt(s) (T30). The glass is now held only by tape — don’t bump it.
- Unbolt the regulator. Remove the three 10mm fasteners. Maneuver the assembly out through the access openings — it comes out angled, so note the old unit’s orientation first.
- Transfer the motor (if reusing). Remove the three or four T20 screws holding the motor to the regulator and move the old motor onto the new unit — if it runs. If the motor was silent or only clicked, fit the new motor here instead.
- Reinstall in reverse. Seat the new regulator, tighten fasteners to “snug” (see below), re-clamp the glass, reconnect the motor, then reseal the vapor barrier with fresh butyl rope — press it firmly all the way around. Refit the door card, trim, screws, and covers.
- Initialize the window per the next section — don’t skip this, or one-touch and pinch protection will misbehave.
On torque specs: there are none verifiable. No BMW documentation with a published torque figure for the regulator hardware surfaced in this guide’s research — every DIY says “snug.” Tighten the 10mm fasteners firmly by hand, and go easy on the plastic glass clamps, which crack if overtightened.
Safety: if you cut a jammed cable to free a stuck window (a reported trick), wear eye protection — the cable is under tension and can whip. Respect the door airbag throughout: battery disconnected, or hands off its connector — never live and unplugged.
Window initialization after replacement
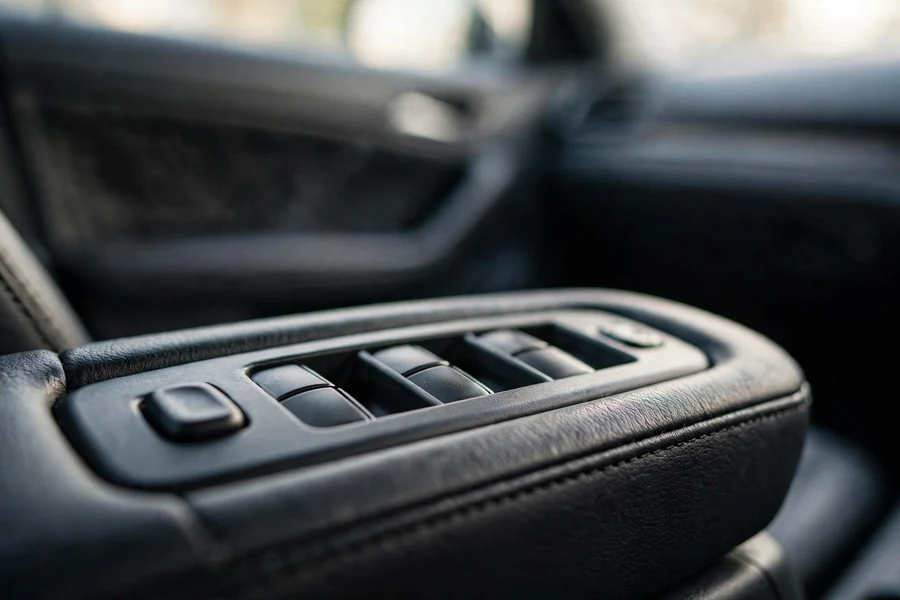
After any regulator replacement — or battery disconnect — the window must be initialized. This teaches the electronics the window’s full travel, enabling one-touch up/down and pinch (anti-trap) protection. A window that rises a few millimeters then reverses hasn’t failed mechanically; it lost its initialization.
- Ignition on (engine can be off).
- Press the switch down until the glass is fully lowered — keep holding roughly 15–30 seconds.
- Pull the switch up until the glass is fully raised — keep holding roughly 15–30 seconds.
- Repeat the down-up cycle once more.
- Test one-touch up and down. If the window still reverses, repeat — it sometimes takes two full cycles to stick.
The 15–30-second hold times come from owner write-ups, not BMW documentation — treat them as the commonly reported procedure, not a factory spec. What it restores is well understood: full-travel one-touch operation and a correctly calibrated pinch-protection threshold.
Keeping the new regulator alive
The new regulator is the same design as the one that failed, so a little maintenance helps. The cheapest credible tip from long-term owners: re-lubricate the mechanism. With the door card off, apply dielectric or white-lithium grease to the cable runs and pulleys — widely reported to extend life.
One pattern worth knowing: forum discussion skews heavily toward rear window failures on the E90 — plausibly disuse, since rear windows sit unused for months while grease dries. That’s a pattern in owner reports, not a measured statistic, but exercising the rear windows every few weeks costs nothing. And don’t hold the switch against a fully closed window, or run the window against ice in winter.
Window regulator FAQ
How can I tell if it’s the window regulator or the motor on my BMW?
Press the switch with your ear near the door. If the motor hums but the glass doesn’t move, the regulator’s cable has snapped or derailed and the motor is fine — you only need the regulator. Complete silence points to the motor, switch, fuse, or FRM wiring. If the glass slides freely by hand, the regulator cable is broken regardless of what you hear.
How much does it cost to replace a BMW window regulator?
For an E90 regulator-only job: $50–$150 DIY (parts only), roughly $347–$521 at an independent shop, and $423–$830 at a dealer. An F30 front regulator, commonly sold as an assembly with the motor, costs more: around $483 for the part and $791–$1,463 total at a shop. All figures are estimates and vary by region.
Can I replace a BMW window regulator myself?
Yes — it’s a 3–4 out of 10 difficulty DIY taking 45–60 minutes per window on E90 and F30 cars, using basic hand tools (Torx bits, 10mm socket, trim tools). The main risks are breaking door-card clips, tearing the vapor barrier, and the door airbag (disconnect the battery, or never unplug the airbag with the battery live). No verifiable BMW torque spec exists for the regulator fasteners; tighten to snug.
Why does my BMW window go up and then immediately come back down?
The window has lost its initialization, so the anti-trap (pinch protection) system triggers and reverses the glass. This commonly happens after a battery disconnect or regulator work — it is not a mechanical failure. Fix it by lowering the glass fully and holding the button down for 15–30 seconds, then raising it fully and holding it up for 15–30 seconds, and repeating the cycle.
Should I replace the window motor with the regulator, or reuse the old one?
Reuse the old motor if it runs — a humming motor means only the regulator needs replacing, and E90 rear regulators are commonly sold without the motor for exactly this reason. Replace the motor if it was silent or only clicked. F30 front regulators are often sold as an assembly with the 5-pin motor included. Always verify the part number (E90 rear: 51357140589/51357140590; F30 front: 51337281885/51337281886) against your VIN before ordering.
A failed window regulator is one of the most satisfying DIYs on a 3 Series: an hour of your time, basic hand tools, and a part costing a fraction of the shop quote. While the door card is off, exercise the other windows — and if a door lock is acting up too, our door lock actuator guide uses the same disassembly. Fold this repair into the broader 3 Series maintenance schedule, and use the complete BMW 3 Series guide as the hub everything connects to.