Changing BMW 3 Series Spark Plugs? Get the Gap Right
Short answer: Replacing spark plugs on a BMW 3 Series is a true DIY job — a socket set, a torque wrench, and about two hours. Buy the correct plugs for your engine, torque them to 23 Nm with no anti-seize, and start every plug by hand so you never strip a thread. If you are wondering whether your plugs are due, check the spark plug interval guide first — this article is the procedure, not the schedule.
BMW 3 Series spark plug replacement DIY is one of those jobs that looks intimidating until you have done it once. The plugs sit deep in the cylinder head under the ignition coils, the gap specs differ by engine, and the internet is full of conflicting advice about anti-seize and torque. Get those details right and the whole job is refreshingly mechanical: pull the coils, swap the plugs, torque, reassemble. Get them wrong and you are looking at stripped aluminum threads — a repair that costs more than every spark plug job you will ever do, combined.
This guide covers the complete procedure for every common 3 Series engine: the N52 six in the E90, the N54 and N55 turbos, the N20 four in the F30, and the B48 and B58 engines in later cars. That means the tools you actually need (including the one socket people always buy wrong), engine cover and cowl removal per generation, coil handling, the real gap and torque numbers, why you must not use anti-seize, and how to verify the job afterward. If your engine is misfiring rather than just due for maintenance, see the ignition coil failure symptoms guide — coils fail more often than plugs on these cars, and a new plug will not fix a dead coil.
Is this a DIY job? Difficulty, time, and cost
Honest difficulty rating: 3 out of 10 if you have used a torque wrench before, 5 out of 10 if this is your first engine-bay job. Nothing you touch affects timing, fuel, or cooling — you are removing trim covers, unplugging connectors, and threading fasteners. The hardest part is reaching the rearmost plugs on six-cylinder cars, where the cowl and a strut brace crowd the back of the engine. That is an access puzzle, not a skill barrier.
Plan on one to two hours for a four-cylinder and two to three hours for a six-cylinder the first time, including the time you will spend reading the torque spec twice before trusting it. Parts run roughly $60 to $130 for a set of quality plugs; a shop charges roughly $250 to $450 for the same job, and a dealer is typically north of $400. The cost estimator later in this article breaks that down by scenario. The tool you must own is a click-type torque wrench — not “snug plus a bit.” Aluminum cylinder heads are unforgiving, and the entire price advantage of DIY disappears the moment a thread strips.
Tools and parts: buy the right socket first
Most of the tools are standard garage fare. One is not, and buying the wrong version is the most common pre-job mistake for this repair.
| Tool / part | Details | Why it matters |
|---|---|---|
| Thin-wall 14mm 12-point spark plug socket | Required for N54, N55, N20/N26, B48, and B58 | The plug wells on these engines are too tight for a standard socket; a regular socket will not seat and can crack the plug’s ceramic |
| 5/8-inch spark plug socket | Standard-depth is fine for the N52 | N52 plugs use the larger hex — the 14mm thin-wall socket will not fit them |
| Click-type torque wrench, 3/8-inch drive | Range that covers 23 Nm comfortably | Torque spec is 23 Nm. Under-torqued plugs loosen; over-torqued plugs strip threads |
| 6-inch and 10-inch extensions, plus a swivel | Wobble/swivel helps on rear cylinders | Rear plugs sit under the cowl at awkward angles |
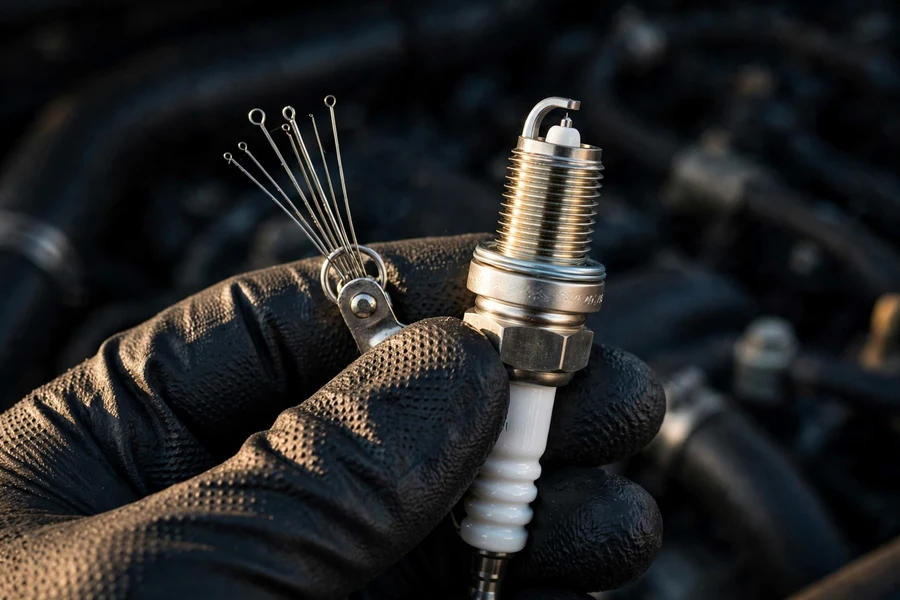
| Feeler or wire-type gap gauge | For verifying gaps, not setting them from scratch | Modern OE plugs come pre-gapped; you are checking, not adjusting |
| Correct spark plugs for your engine | 4 or 6, depending on engine | Heat range and electrode design are engine-specific — see the spec table below |
| Dielectric grease (optional) | Light smear inside coil boots | Eases future coil removal; never goes on plug threads |
| Compressed air or a shop vacuum | To blow out plug wells | Debris in an open plug well falls straight into the cylinder |
| E-Torx socket (E90 only) | For the strut brace bolt at the firewall | Loosens the brace to reach the #5/#6 plugs on N52 cars |
A note on buying plugs: stick with the OE suppliers for your engine — NGK or Bosch depending on the engine code — bought as the exact plug the engine was designed for. Counterfeit spark plugs are a real problem through marketplace sellers, so buy from a reputable auto-parts retailer rather than the cheapest listing.
Spark plug specs by engine: plug type, gap, torque
This is the table people actually come for. Use the lookup module below it if you prefer a one-engine view. Torque is the same 23 Nm on every engine here — the values that differ are the plug type, the factory gap, and the socket.
| Engine | 3 Series models | Plug type | Factory gap | Torque | Socket |
|---|---|---|---|---|---|
| N52 (naturally aspirated) | E90 325i/328i/330i | NGK PLZFR6A-11S or Bosch equivalent | 0.043 in (1.1 mm) | 23 Nm | Standard 5/8 in |
| N54 (twin-turbo) | E90 335i | OE Bosch; community uses NGK 97506 | 0.032 in (0.8 mm) stock* | 23 Nm | Thin-wall 14mm 12-pt |
| N55 (single-turbo) | E90/F30 335i | NGK or Bosch OE-spec iridium | 0.028–0.030 in (0.7–0.76 mm) | 23 Nm | Thin-wall 14mm 12-pt |
| N20/N26 (turbo 4-cyl) | F30 328i | NGK 97506 (factory standard) | 0.030 in (0.76 mm) preset | 23 Nm | Thin-wall 14mm 12-pt |
| B48 (turbo 4-cyl) | F30 330i / G20 330i | OE-spec iridium (Champion-type) | 0.028–0.031 in (0.7–0.8 mm) | 23 Nm | Thin-wall 14mm 12-pt |
| B58 (turbo 6-cyl) | G20 340i / M340i | NGK OE replacement; BMW High Power plug if tuned | 0.028–0.031 in (0.7–0.8 mm) | 23 Nm | Thin-wall 14mm 12-pt |
* The N54 colder-plug and tight-gap figures are community practice, not BMW-published specs: the NGK 97506 is two heat ranges colder than the stock N54 plug, and tuners gap it to 0.020–0.022 in (0.5–0.56 mm) for higher-boost or E85 builds. On a stock N54, fit the OE-spec plug at factory gap. See the BMW 3 Series complete guide if you are unsure which engine your car has.
Spark plug spec lookup
Pick your engine to see its plug type, factory gap, torque, and socket.
Gapping: check it, don’t set it
Every plug in the table above arrives pre-gapped from the factory. Your job is to verify, not to adjust. Confirm each plug against the factory figure for your engine with a wire gauge. If a plug is out of spec, exchange it rather than bending the electrode — the fine-wire iridium and platinum tips on modern plugs are brittle, and one clumsy adjustment can crack the tip or chip the coating. A damaged tip does not announce itself; it shows up as a misfire two weeks later that you will chase through coils and injectors before suspecting the brand-new plug.
The one exception is a tuned car. If your N54, N55, B48, or B58 runs a tune with raised boost, the tuning community commonly gaps plugs tighter (around 0.020–0.022 in) to prevent spark blowout at high cylinder pressures, and sometimes fits a colder heat range. That is community practice, documented by tuners and owners — not a BMW specification, and it does not apply to stock cars. On a stock engine, a tighter gap buys you nothing except a rougher idle. Run the factory gap.
The anti-seize debate, settled
This is the argument that never dies in DIY forums, so here is the definitive answer for these engines: install spark plugs dry, with no anti-seize on the threads. BMW’s own service documentation (TIS/ISTA) says it plainly — do not grease or oil the thread, do not use graphite or copper grease, and adhere to the torque values. NGK says the same: the threads carry a trivalent zinc-chromate plating that acts as both corrosion protection and a release agent, and the plugs are designed to be installed dry.
The physics is what matters. Anti-seize is a lubricant, and lubricant changes the thread friction a torque wrench is calibrated against — by as much as 20 percent. Torque to 23 Nm with anti-seize on the threads and you have effectively over-torqued the plug, stretching the shell or pulling the aluminum threads in the head. The plating already prevents seizure, so anti-seize adds no protection and actively undermines your torque reading. If the old plugs come out hard after a long interval, that is an argument for changing them on schedule — see the interval guide — not an argument for grease.
Getting access: engine cover and cowl removal by generation
The plugs hide under the plastic engine cover, and on most 3 Series the rear cylinders also sit under the windshield cowl trim. Here is how each generation opens up.
E90 (2006–2011): N52 and N54/N55
Pop the engine cover off — it lifts straight up off its rubber grommets. The coils are now visible along the valve cover, but cylinders 5 and 6 live under the cowl at the back. Remove the cabin filter housing (a few clips and one electrical connector), then release the cowl cover panels. On N52 cars a strut brace runs from each strut tower to the firewall right over the rear plugs: loosen — do not fully remove — the firewall-side E-Torx bolt and swing the brace aside; the mounting holes are slotted for exactly this. Coil connectors get brittle with age, so squeeze each release tab fully before pulling — a snapped tab turns a ten-second unplug into a parts order.
F30 (2012–2018): N20, N26, N55, B48, B58
Same principle, slightly easier. The engine cover lifts off its grommets, and the cowl trim at the base of the windshield unclips — use a trim tool rather than yanking, because the rubber cowl seal tears if it is old and cold. The N20 four-cylinder gives you the best access of any engine in this article: four coils, four plugs, no strut brace in the way. On N55 cars the rear two plugs are the fiddly ones; a 10-inch extension with a swivel reaches them once the cowl trim is out of the way.
G20 (2019+): B48 and B58
The G20 engine cover is a larger sculpted piece but still grommet-mounted — lift evenly from the corners. The cowl area is tighter than the F30, so budget a few extra minutes for trim. The B58’s coils sit in deep wells with long boots; pull each coil straight up with a gentle twist rather than rocking it side to side, which stresses the boot.
The full procedure, step by step
Work on a cold engine — aluminum heads and hot steel plugs are a recipe for galled threads. Disconnect the negative battery terminal if you want to be thorough; it is not strictly required, but it costs thirty seconds and removes all doubt.
- Clear the top of the engine. Remove the engine cover and the cowl/cabin-filter trim for your generation as described above. Lay the trim pieces somewhere they will not get stepped on.
- Blow out the plug wells. With the coils still in place, hit the area around each coil with compressed air or a vacuum. You are about to open a direct path into each cylinder — any grit around the coil will fall in. BMW’s service guidance specifically calls for cleaning the plug shafts with compressed air before removal.
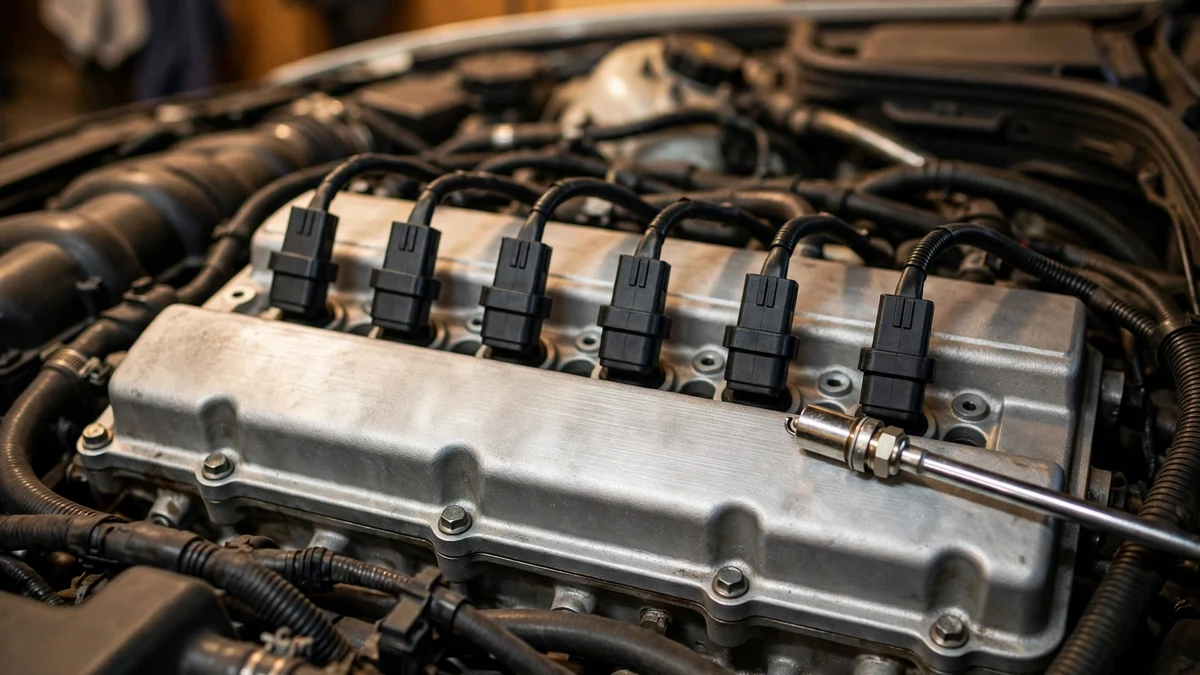
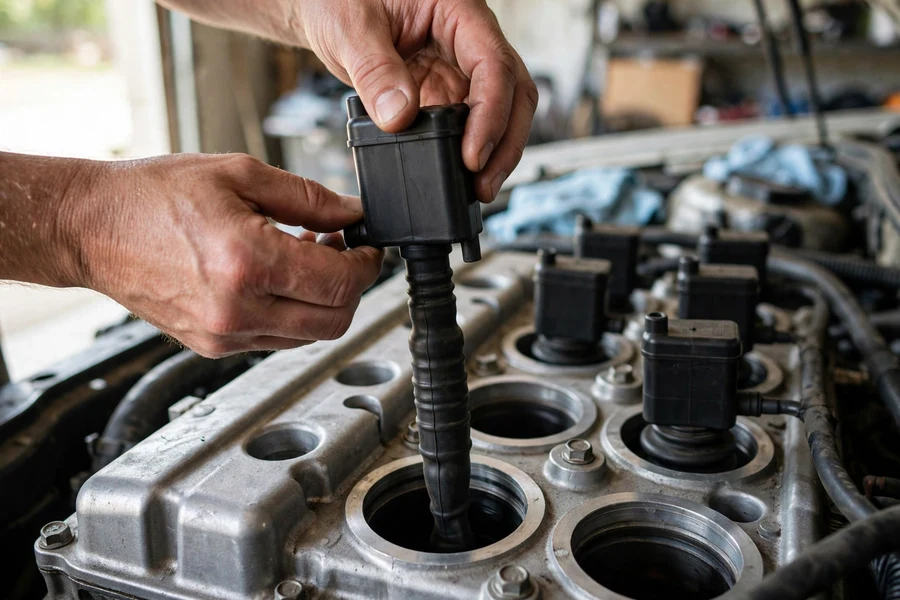
- Unplug the coils one at a time. Squeeze each connector’s release tab and pull it straight off. Work one cylinder at a time from here on — never leave multiple plug wells open at once.
- Remove the coil. Most 3 Series coils are held by a single bolt; some later ones just pull. Remove the bolt, then pull the coil straight up with a slight twist. If a coil resists, twist gently — do not pry against the valve cover with a screwdriver. Inspect each boot as it comes out: cracking, brittleness, or white tracking marks mean the coil wants replacing too (see the coil failure guide).
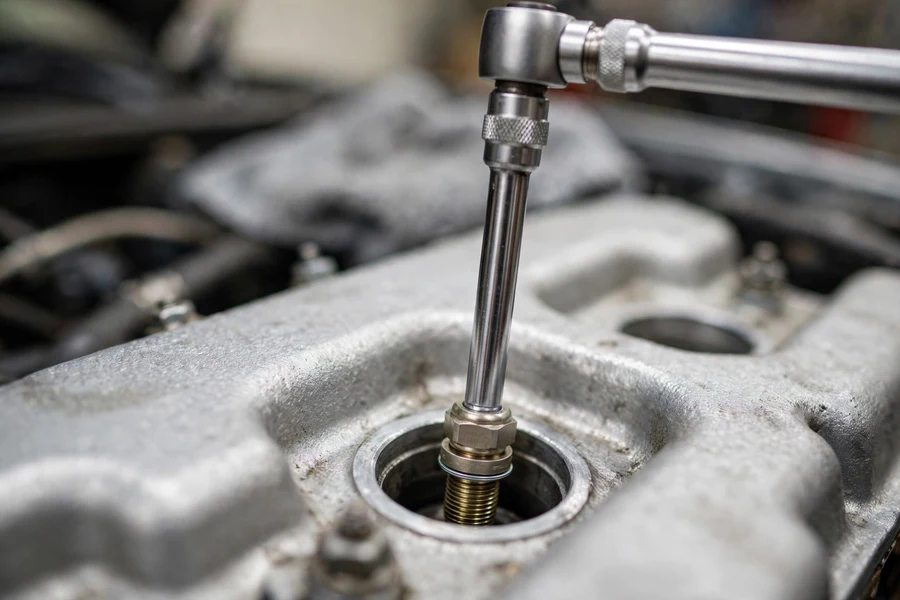
- Remove the old plug. Seat the correct socket fully onto the plug — thin-wall 14mm 12-point for the turbo engines, 5/8-inch for the N52 — and break it loose with a smooth motion. Unthread it slowly. If a plug feels seized, stop: work it back and forth a quarter-turn at a time rather than muscling it. Patience here is cheaper than a thread repair.
- Read the old plugs. Before they go in the bin, look at them. Even tan or light gray deposits are normal. Oily threads or electrodes point to valve cover or valve stem seal leaks; heavy black soot suggests rich running; a white blistered electrode suggests overheating or lean running. If anything looks wrong, the check engine light causes guide helps interpret it — and an OBD2 scanner will show you the fuel trims behind the deposits.
- Verify the new plug’s gap. Check each new plug with the wire gauge against the factory figure in the spec table. If one is off, exchange it — do not bend the electrode on a fine-wire plug.
- Thread the new plug by hand. The most important step in the article, detailed in the next section. Finger-tight first, always, with the socket and extension but no ratchet.
- Torque to 23 Nm. Attach the torque wrench and tighten in one smooth pull. No anti-seize, no “extra quarter turn for luck.” Click means done.
- Reinstall the coil. A light smear of dielectric grease inside the boot (not on the plug) eases the next removal. Seat the coil fully — you should feel it settle onto the plug — then reinstall its bolt and reconnect the connector until it clicks.
- Repeat for each cylinder, one at a time. Then reinstall the cowl trim, cabin filter housing, and engine cover in reverse order. Reconnect the battery if you disconnected it.
Thread it by hand, or pay for the threads
Cross-threading a spark plug is the most expensive mistake in this job, and it is entirely avoidable. The plug wells are deep and angled, the threads in the aluminum head are fine, and a ratchet gives you zero feedback about whether the plug is engaging correctly or chewing its way in sideways.
The technique: drop the plug into the socket, lower it into the well on the extension, and turn the extension with your fingers only — no ratchet attached. A correctly started plug turns smoothly and easily for several full turns. If you feel resistance in the first turn or two, back it out immediately and start again. The moment you reach for the ratchet before the plug is finger-tight, you have given up your only warning system. A short length of fuel hose pushed over the plug’s terminal makes an excellent flexible starter on the deep rear wells — it turns the plug where your fingers cannot reach, and the hose slips harmlessly if the plug binds.
What does a stripped thread cost? A thread repair with a proper insert, done with the head in place, typically runs several hundred dollars at an independent shop — assuming the damage is repairable in situ. If the head has to come off, you are into four figures. Against that, thirty extra seconds of finger-threading per plug is nothing. This is the step to be slow about.
Coil removal and handling: don’t break what isn’t broken
Coils are the fragile part of this job, not the plugs. The coil bodies and connector tabs are plastic that has lived through years of heat cycles, and a surprising number of spark plug jobs end with a bonus coil replacement because a connector tab snapped or a boot tore. The rules: squeeze connector tabs fully before pulling, pull coils straight up with a twist rather than levering them, and never set a removed coil down on its boot where it can pick up grit.
While each coil is out, inspect it — cracked housings, swollen or torn boots, and carbon tracking (thin dark lines on the boot or plug ceramic) all mean the coil is done. Coils fail far more often than plugs on these engines; if your car has high mileage on original coils and you are already in there, many owners replace the set as preventive maintenance. The full diagnostic walkthrough is in the ignition coil failure symptoms guide. Keep each coil matched to its original cylinder unless you are replacing the set — it keeps your diagnostics clean if a misfire code appears later.
After the job: verification
Do not just start the car and drive off. Run this checklist — five minutes, and it catches the two things that go wrong after a plug job (a connector left unplugged, a coil not fully seated).
- Visual sweep: every coil connector clicked home, every coil bolt back in, no tools or trim clips left on the engine, cowl and cabin filter housing reinstalled.
- First start: crank it and let it idle for a full minute. A lumpy idle or flashing check engine light almost always means a coil connector is not seated or a coil is not fully down on its plug — shut off, recheck, restart.
- Test drive: ten minutes of mixed driving, including one firm pull through the midrange. You are listening for hesitation or stumbling under load, the classic symptom of a plug or coil problem.
- Scan for codes: even if no light is on, run an OBD2 scanner and check for pending misfire codes (P0300–P0306). Pending codes appear before the check engine light does. If one cylinder misfires, swap that coil with a neighboring cylinder and see if the code follows it.
- Recheck after a heat cycle: after the engine has fully warmed and cooled once, pop the cover and confirm the coil connectors are still seated. This is cheap insurance, not paranoia.
Cost estimator: DIY vs shop vs dealer
The parts cost barely moves between scenarios — at a shop you are buying labor and liability. Honest 2026 price bands follow; local rates will vary.
DIY vs shop cost estimator
FAQ
Do I need to replace the ignition coils at the same time as the spark plugs?
Not automatically. Coils are a separate wear item with their own failure pattern — they usually fail one at a time with a misfire code on a specific cylinder, while plugs wear out as a set. Inspect every coil while it is out: cracked boots, brittle housings, or high mileage on original coils make replacing the set sensible preventive maintenance, since the labor is already done. If the coils look healthy, leave them. The coil failure symptoms guide covers how to tell.
Can I change spark plugs on a hot engine to save time?
No — always work on a cold engine. Aluminum expands more than the steel plug shell, so a hot head grips the plug tighter and dramatically raises the risk of galling or stripping the threads on removal. Let the car sit for several hours after driving, or do the job first thing in the morning.
What happens if I over-torque a spark plug?
Three bad outcomes, in escalating order: the crush washer over-compresses and the plug can loosen over time; the steel plug shell stretches, breaking the seal between shell and insulator and causing compression blowby; or the aluminum threads in the cylinder head strip, which means a thread-insert repair at minimum. This is why the spec is a modest 23 Nm with a torque wrench — not “tight” by feel. Anti-seize makes over-torquing more likely by changing thread friction, which is one more reason BMW says not to use it.
Should I gap my plugs tighter if my BMW is tuned?
That is community practice for tuned turbo cars, not a factory specification. Tuners commonly run gaps around 0.020–0.022 in on N54, N55, B48, and B58 engines with raised boost to prevent spark blowout, and sometimes fit a colder heat range. If your car is stock, run the factory gap from the spec table — a tighter gap just makes the idle rougher.
My car still misfires after new plugs — what now?
First, verify the basics from the checklist above: coil connectors fully clicked, coils seated, no pending codes pointing at a specific cylinder. If one cylinder keeps misfiring, swap its coil with a neighboring cylinder and rescan — if the misfire follows the coil, the coil is bad. If the misfire stays on the same cylinder, suspect the plug (a cracked ceramic from installation is possible), the injector, or a deeper issue like carbon buildup or low compression. The check engine light causes guide walks through the full diagnostic order.