How to Find Your BMW Paint Code and Touch Up Chips
That stone chip on your hood has a three-digit name, and once you know it, a $20 bottle of paint can make it nearly disappear. Every BMW leaves the factory with a paint code — usually on a label under the hood or in the door jamb — that identifies the exact color formula. This guide shows you how to find your bmw paint code, how to read it, which touch-up paint to buy, and the step-by-step process for repairing chips and scratches so well that only you will know they were there.
Short answer
Find your BMW paint code on the label under the hood (near a strut tower on older cars), in the driver’s door jamb, or via your VIN at a BMW dealer’s parts counter. Order touch-up paint by that code — not by the color name. For small chips: clean, apply thin coats with drying time between them, add clear coat, then level and polish. Chips with rust need rust treatment first; deep scratches to bare metal across large areas belong to a professional. The repair advisor below tells you which category your damage falls into.
In this guide
- Where to find your BMW paint code
- How to read a BMW paint code
- Common 3 Series colors by generation
- Which touch-up paint to buy
- The touch-up process, step by step
- Dealing with rust before you paint
- When to skip DIY and call a professional
- Paint types decoded: metallic, pearl, matte, and Individual
- The faded-paint problem (and how pros beat it)
- Protecting the repair (and the rest of the paint)
- Five touch-up mistakes that make it worse
- Cost comparison: DIY vs. professional
- Reading a BMW data label: every field explained
- The glovebox kit: touch-up on the road
- Paint codes vs. option codes: don’t confuse them
- Interactive: repair advisor
- Interactive: DIY or pro? quiz
- Frequently asked questions
Where to find your BMW paint code
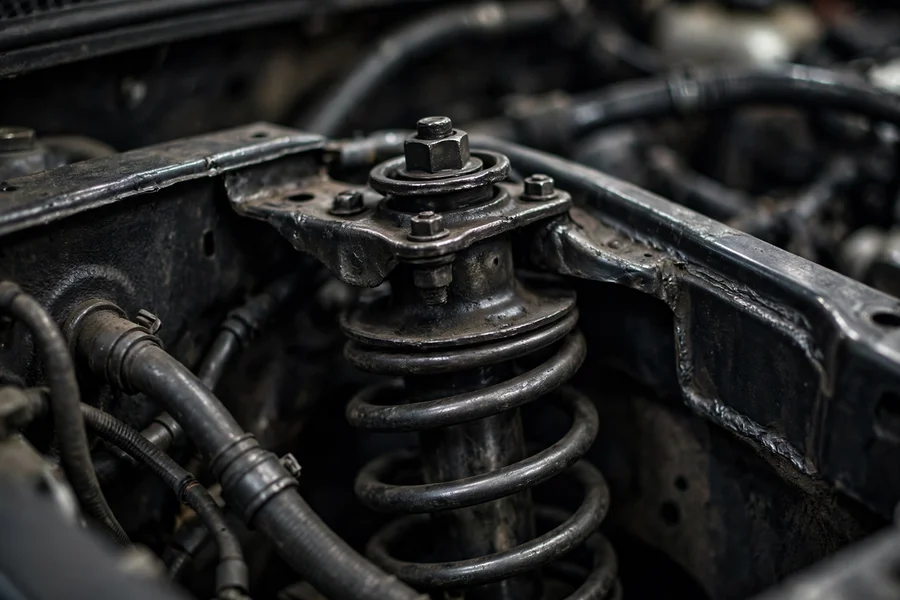
BMW puts the paint code on the vehicle’s data label, but the label’s location moved over the years — which is why forum threads about this read like treasure maps. On E90-era cars, check the label under the hood near the strut towers (either side — owners report both). On F30 and G20 cars, check the driver’s door jamb sticker and the under-hood labels. The code is typically a three-character code (three digits, or a letter followed by two digits on newer colors) printed near the other option and build codes.
If the label is missing, faded, or you can’t decode it, two fallbacks never fail: your VIN at a BMW dealer’s parts counter (they can pull the exact color from the build data — call with the last seven digits of the VIN), and the option-code build sheet (see our option codes guide). Never guess from the color name alone — “black” could be Jet Black, Black Sapphire, or Carbon Black, and they are different formulas.
How to read a BMW paint code
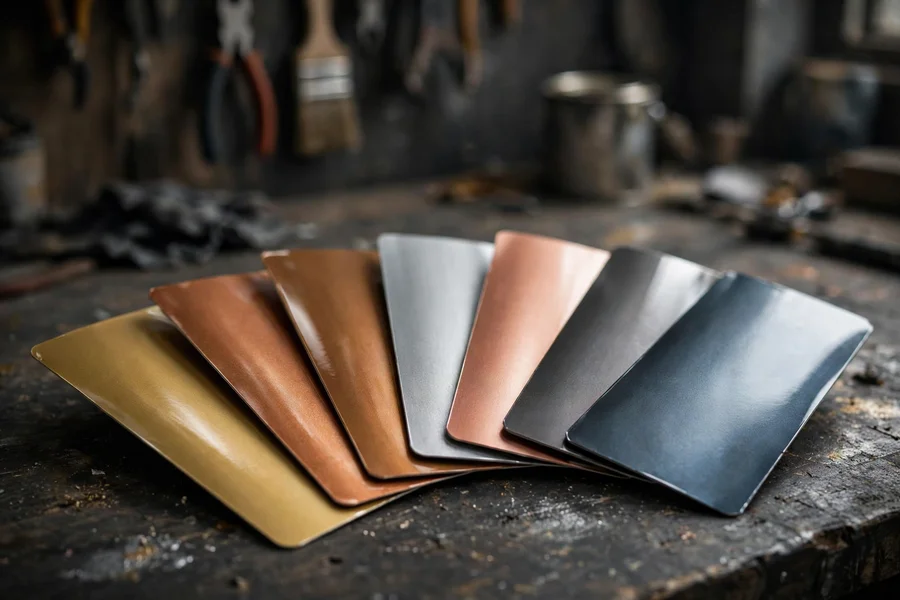
BMW paint codes are short: classic colors use three digits (300, 668, 475), while newer colors use a letter plus two digits (A52, B45, C31). The code identifies the color formula only — it says nothing about whether the paint is metallic, pearl, or flat; that information lives in the color’s name and the paint system. Two important subtleties: shade variants exist (a code can have factory variants from different paint suppliers, which is why a good paint shop checks a variant deck), and faded paint won’t match fresh touch-up paint perfectly — a ten-year-old hood has seen ten years of sun, and fresh paint matches the factory formula, not the faded reality. On small chips this difference is invisible; on larger repairs it’s why blending matters.
Common 3 Series colors by generation
These are the colors you’ll see most on used 3 Series lots. Codes are the commonly cited factory codes for these color names — always confirm against your car’s label or VIN, since BMW reused some names across different formulas over the decades.
| Color name | Code | Common on | Notes |
|---|---|---|---|
| Alpine White III | 300 | E90, F30, G20 | Non-metallic; the default white for decades |
| Jet Black | 668 | E90, F30, G20 | Non-metallic; shows every swirl |
| Black Sapphire Metallic | 475 | E90, F30, G20 | Metallic; blue flake in sunlight |
| Titanium Silver | 354 | E90 | The classic E90 silver |
| Space Gray | A52 | E90, F30 | Metallic gray; hugely popular |
| Melbourne Red | A75 | E90, F30 | The M Sport red of its era |
| Mineral White | A96 | F30, G20 | Metallic white; replaced Alpine on many builds |
| Estoril Blue II | B45 | F30 | The F30’s signature blue |
| Portimao Blue | C31 | G20 | The G20’s signature blue |
| Carbon Black | 416 | E90, F30 | Metallic; looks black until sunlight hits it |
Which touch-up paint to buy
Order by code, and buy the right format for the damage. Paint pens (with an abrasive prep tip on one end) suit tiny stone chips — the fine tip puts paint exactly where it belongs. Bottles with brush applicators suit scratches and slightly larger chips; the brush holds more paint but demands a steadier hand. Aerosol cans mixed to your code suit larger areas like bumper scuffs, but need masking, ventilation, and practice — overspray is unforgiving.
Where to buy: a BMW dealer’s parts counter sells factory touch-up paint matched to your VIN’s code — the safest option and usually the best color match. Reputable online touch-up specialists (the kind that mix to your code, like the well-known PaintScratch-type suppliers) are the alternative; avoid generic “universal black” or “silver” bottles, which match nothing. For metallic colors, buy the two-stage kit: base color coat plus clear coat. The clear isn’t optional on metallics — the metallic flakes need it for both gloss and correct appearance. Whichever source you choose, double-check the code on the bottle against your label before opening it; suppliers mix thousands of codes a day, and catching a mispick before application saves a miserable stripping job.
The touch-up process, step by step
The difference between an invisible repair and a visible blob is patience, not talent. Work in shade (never direct sun), and follow your specific product’s instructions for drying times — they vary by brand and temperature.
1. Wash and decontaminate. Wash the area, then wipe the chip with isopropyl alcohol or a wax/grease remover. Paint won’t bond to wax, road film, or detailing spray residue.
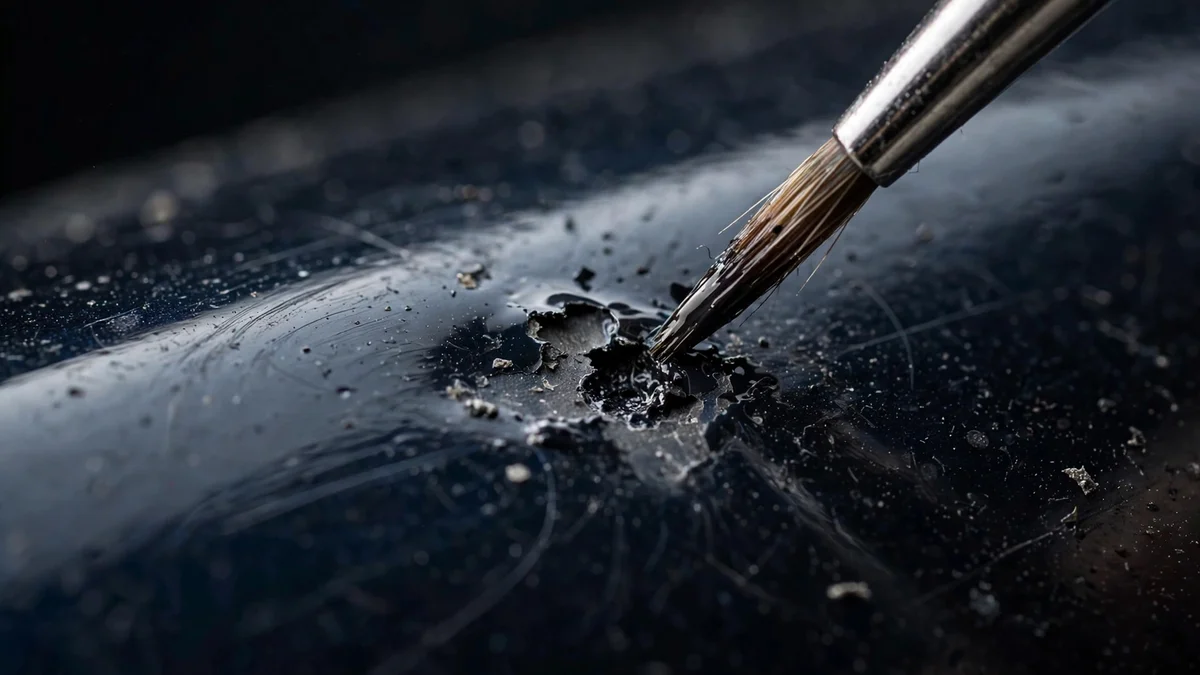
2. Prep the chip. For a clean stone chip, lightly clean out any loose paint edges. Don’t sand aggressively — you’re filling a crater, not resurfacing the panel. If you see rust, stop and treat it first (next section).
3. Apply thin coats. Dab — don’t brush — small amounts of paint into the chip, building slightly below the surrounding paint level. Let each coat dry per the product instructions before the next. Three thin coats beat one thick coat every time; thick coats shrink, crack, and leave a visible mound.
4. Clear coat. Once the color coats are dry, apply clear coat over the repair, again in thin layers. This restores gloss and protects the color — skipping it leaves a dull spot that collects dirt.
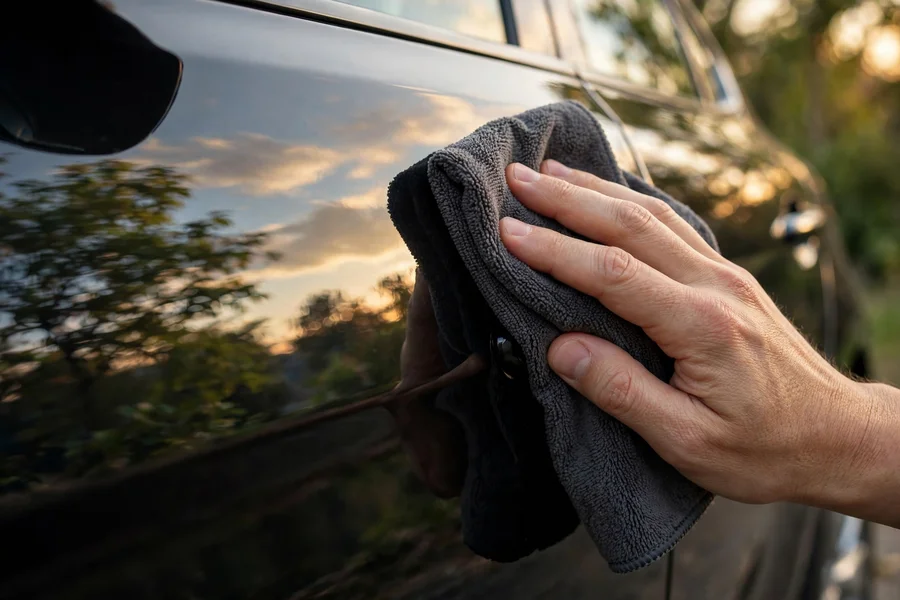
5. Level and polish. After full curing (check your product’s cure time — often 24–48 hours before polishing), level any slight mound with ultra-fine polishing compound on a soft cloth, using light pressure. Finish with your normal wax or sealant over the area. Done right, a stone chip repair is invisible beyond arm’s length.
Dealing with rust before you paint
Paint over rust and you’ve sealed in the problem — it will bubble back through within months. If the chip shows orange or brown: first remove the loose rust mechanically (a fiberglass pencil or fine abrasive on a small spot — you’re cleaning the crater, not grinding the panel), then apply a rust-converter or rust-inhibiting primer per its instructions and let it cure fully. Only then proceed with color and clear. This adds a day to the job and is the difference between a repair that lasts years and one that lasts a season.
Know the limit: surface rust in a stone chip is a DIY job. Rust that’s bubbling under the paint around the chip, or perforation you can poke through, means the corrosion has spread behind the panel — that’s body-shop territory, because the repair needs cutting and welding, not paint. When in doubt, poke gently with a plastic trim tool: if the metal feels solid under the bubble, you’re still in DIY territory; if it flexes or crumbles, stop and get a professional assessment before the hole grows.
When to skip DIY and call a professional
Touch-up paint is for small, shallow damage. Call a professional when: the scratch is down to bare metal and longer than a few inches (touch-up can’t level that invisibly); the damage is on a flexible plastic bumper cover across a large area (bumper paint needs flex additive and spray equipment); the panel is dented (paint doesn’t fix shape); or the car is a showpiece where a 95% repair isn’t good enough. A good rule: if you can cover the damage with a coin, DIY is on the table. If you need your hand, get a quote.
Also worth knowing: a professional “spot repair” or “blow-in” — repainting just the damaged area and blending into the panel — costs a fraction of a full panel respray and is the right middle ground between a touch-up bottle and a body shop invoice. When getting quotes, ask specifically whether they blend or respray the whole panel; the answer explains most price differences.
Paint types decoded: metallic, pearl, matte, and Individual
Not all BMW paint behaves the same under the touch-up brush. Non-metallic (Alpine White 300, Jet Black 668) is the most forgiving — one-stage color, straightforward blending, the easiest DIY. Metallic (Black Sapphire 475, Space Gray A52) suspends tiny aluminum flakes in the color; the flakes must lie flat and even, which is why thin coats and the mandatory clear coat matter — globbed metallic looks darker and blotchy because the flakes clump.
Pearl and xirallic finishes (some Mineral White variants, many Individual colors) add a translucent mid-coat with light-bending pigments — genuinely three-stage paint. Touch-up on these is the hardest DIY in this guide: the mid-coat’s thickness changes the color, so small repairs can look slightly off even with the right code. Matte/frozen finishes (Frozen White, Frozen Black on special models) are the exception to everything here — they cannot be polished, so the level-and-polish step is forbidden; matte touch-up paint exists but the repair will always be somewhat visible. And BMW Individual colors (ordered through the Individual program) use standard codes too — your code works the same way, though the paint costs more per bottle.
The faded-paint problem (and how pros beat it)
Here’s the uncomfortable truth about a ten-year-old car: the paint on it is no longer the factory color. UV exposure fades and shifts every pigment — reds go pink at the edges, blacks go gray, clear coats micro-scratch into haze. Fresh touch-up paint matches the factory formula, not your car’s current reality. On a stone chip, nobody can tell. On a larger repair, the fresh paint can look slightly richer than the surrounding faded panel.
Professionals beat this two ways. First, variant decks: paint suppliers produce multiple variants of each factory code (lighter, darker, redder, yellower), and the painter holds spray-out cards against your car in daylight to pick the closest variant. Second, blending: instead of painting a hard edge, the new paint is faded out over the surrounding panel so the eye can’t find the transition. DIY touch-up can’t blend — which is precisely why this guide draws the DIY line at coin-sized damage. Small enough, and the eye forgives everything.
Protecting the repair (and the rest of the paint)
A fresh repair is only as durable as its protection. After the final polish, seal the area with your normal wax or paint sealant — the fresh clear coat needs the same UV and chemical protection as the factory paint around it. If the car wears a ceramic coating, note that coating over a fresh repair requires the paint to be fully cured first (check the coating manufacturer’s guidance), and the coated-vs-uncoated spot will bead water differently until it’s done.
Bigger picture: the best touch-up is the one you never need. A clear paint-protection film (PPF) on the front bumper, hood leading edge, and mirrors absorbs the stone strikes that cause most chips — it’s the reason you see film lines on well-kept used cars. For the cost-conscious, even a quality sealant applied twice a year makes the paint slicker and marginally more chip-resistant. And park with the nose away from gravel shoulders and construction zones whenever you have the choice; most chips are a location decision, not bad luck.
Five touch-up mistakes that make it worse
1. Painting in direct sun. The paint skins over before it levels, trapping solvent underneath — hello, permanent texture. Shade or a garage, always.
2. One thick coat. The classic beginner move. Thick paint shrinks as it cures, leaving a crater with a raised rim — worse than the original chip. Thin coats, plural.
3. Skipping the clear. Color coat without clear looks flat, feels rough, and weathers fast. On metallics it’s not even the right color without clear on top.
4. Polishing too soon. Leveling before full cure tears the soft paint. Wait the product’s full cure time — often 24–48 hours — even if the surface feels dry.
5. Touching up dirty paint. Sealing wax, tar, or iron deposits under fresh paint guarantees peeling. The alcohol wipe takes thirty seconds; skipping it ruins the repair.
Cost comparison: DIY vs. professional
Typical market ranges (they vary by region and shop): a factory touch-up pen or bottle runs about the price of a takeout dinner; a two-stage metallic kit roughly double that. A professional spot repair with blending usually lands in the low hundreds per area; a full panel respray climbs into the mid-to-high hundreds; bumper resprays sit between the two. The economics are stark — DIY materials cost a small fraction of even the cheapest professional repair, which is why the advisor above is generous about DIY for small damage. But the reverse is also true: a botched large DIY repair that a shop must strip and redo costs more than going pro first. Match the method to the damage, not to your ambition.
Reading a BMW data label: every field explained
The paint code doesn’t travel alone — the data label is a compressed biography of your car. Alongside the paint code you’ll typically find the VIN (the car’s fingerprint, repeated here for reference), the build date (month and year the car left the factory — useful for ordering parts, since BMW changes components mid-model-year), and a string of option codes (the three-digit “S-codes” like S1CA for option packages, covered in our option codes guide).
Why this matters for paint: the build date tells a paint shop how much fade to expect, and the option codes confirm trim pieces that might need different treatment (shadowline trim vs. chrome, for instance, take different refinishing approaches). Photograph the whole label before it fades — owners who snap a picture on day one never have to squint at a sun-bleached sticker in a parts-store parking lot years later. If the under-hood label is gone entirely (common after front-end repairs, where the label lives on replaced panels), the door jamb sticker and the dealer’s VIN lookup are your backups.
The glovebox kit: touch-up on the road
Stone chips happen on road trips, and a fresh chip is easiest to repair before road grime packs into it. A minimal glovebox kit: your paint pen (matched to your code), a few alcohol wipes, and a microfiber cloth. The field procedure is deliberately basic — clean the chip with a wipe, dab a single thin coat of paint, and leave it. Don’t attempt the full multi-coat process in a hotel parking lot; the goal is just to seal the chip against moisture and rust until you’re home.
That sealing step matters more than it sounds. An open chip is bare metal (or primer) exposed to rain, and a chip that rusts over a two-week road trip becomes a rust-treatment job instead of a ten-minute touch-up. One thin emergency coat buys you time — finish the proper repair at home with full prep, clear coat, and polish. Think of the glovebox pen as a bandage, not surgery — it holds the line until you can do the job properly.
Paint codes vs. option codes: don’t confuse them
The data label carries two different coding systems, and mixing them up causes real parts-counter confusion. The paint code (300, 668, C31) identifies only the exterior color formula — it’s what the paint shop and touch-up supplier need. The option codes (three-character “S-codes” like S481 for sport seats) describe equipment and packages — they’re what the parts department needs for everything else.
Where they intersect: some option codes affect paint-adjacent parts. Shadowline (high-gloss black) vs. satin aluminum window trim, M Sport bumpers vs. standard ones, wheel styles — all option-coded, all relevant when a body shop orders replacement trim after a repair. When you call the dealer, lead with the last seven digits of the VIN and let them pull both systems at once; when you order touch-up paint online, the paint code alone is enough. Our option codes guide decodes the S-code side, and our pre-purchase inspection guide shows how mismatched paint — the tell-tale sign of undisclosed accident repair — is one of the most valuable things those codes help you spot.
Interactive: repair advisor
Describe the damage. The advisor tells you whether it’s a DIY touch-up, a DIY job with rust treatment first, or a trip to the body shop — and why.
Repair advisor
Four questions about the damage.
Interactive: DIY or pro? quiz
Five real-world scenarios. Call it: DIY, pro, or leave it alone?
DIY or pro?
Question 1 of 5
Frequently asked questions
On the vehicle data label: under the hood near the strut towers on E90-era cars, or in the driver’s door jamb on F30 and G20 cars. If the label is missing or unreadable, a BMW dealer’s parts counter can pull the exact color from your VIN’s build data.
Yes, with a two-stage kit: base color coat plus clear coat. The clear is not optional on metallics — the metallic flakes need it for gloss and correct appearance. Small chips repair invisibly; larger areas need professional blending because fresh paint won’t match sun-faded paint exactly.
Follow your specific product’s instructions — drying and cure times vary by brand and temperature. As a general process: allow each thin coat to dry before the next, and wait for full curing (often 24–48 hours) before leveling with polish. Rushing coats is the most common cause of visible repairs.
Surface rust in a small chip is a DIY job: clean out the loose rust, apply rust-converter or inhibiting primer, let it cure, then paint. But rust bubbling under the paint around the chip means corrosion has spread behind the panel — that’s body-shop territory, not a touch-up bottle.
Dealer paint matched to your VIN’s code is the safest color match, since it’s mixed to the factory formula. Reputable aftermarket suppliers that mix to your specific code are a solid alternative — just avoid generic “universal” colors, which match nothing, and always order by code rather than color name.