BMW Headlight Condensation Isn’t Always a Leak
Short answer: BMW headlight condensation is normal when it appears as a light mist or thin film that clears within about 30 minutes of the lights being on. BMW’s own technical guidance states that weather-related fogging on the inside of the lens is not necessarily a fault requiring replacement. It becomes a real leak when you see droplets running down the lens, standing water at the bottom of the housing, or fog that never clears. Drying and resealing fixes most persistent cases for under $100; a full replacement assembly runs roughly $450–$2,500+ depending on headlight type (estimates, parts-market data).
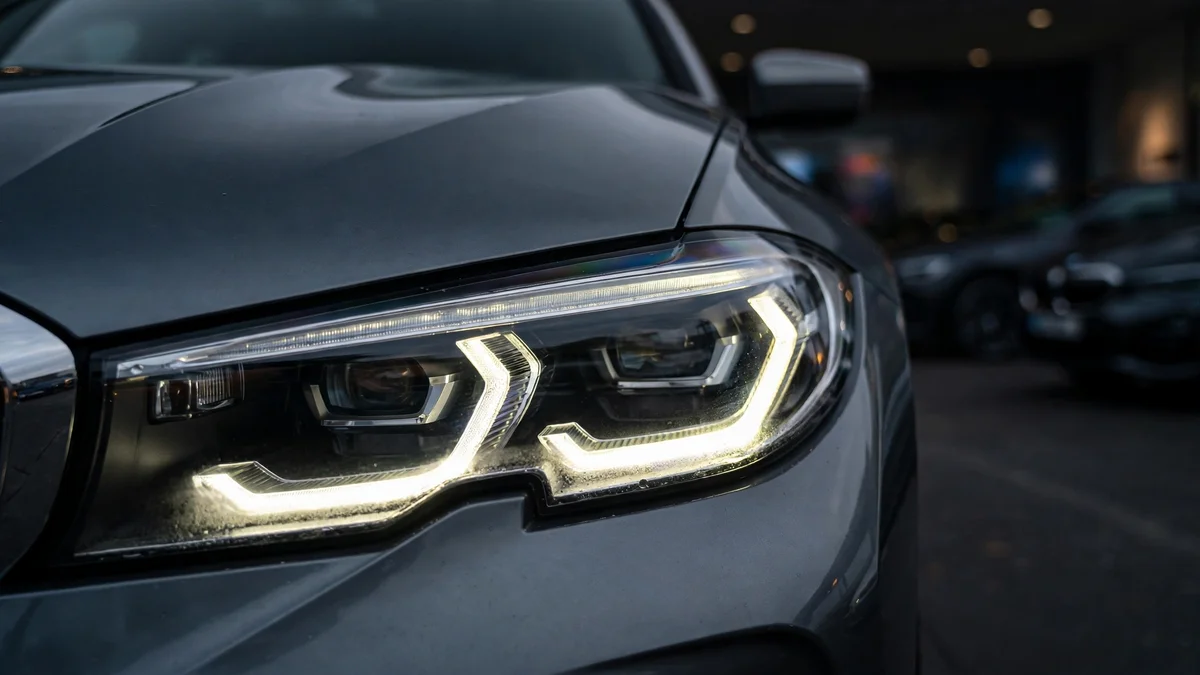
Walk out to your 3 Series on a cold morning and find the inside of one headlight fogged up, and the instinct is to assume the worst: a failed seal and a four-figure repair bill. Sometimes that instinct is right. But often it isn’t. BMW designs its headlight housings to breathe, and under the right weather conditions a healthy, correctly sealed headlight will mist up exactly the way a broken one does at first glance.
This guide gives you the definitive way to tell the difference. You’ll learn why BMW headlight condensation happens, how the vent membranes in the back of the housing work, the simple observations that separate normal fogging from an actual leak, how to dry a housing out properly, when resealing is worth attempting — and when replacement is genuinely the only answer, with honest cost bands for every 3 Series generation and headlight type.
This is an independent guide built from BMW’s technical guidance, parts-market pricing data, and documented owner repairs — not a dealer service procedure, and not a rehash of the bulb replacement steps covered in our companion article.
Why your BMW headlight fogs up: vents, not vacuum seals
A common misconception drives most of the panic about headlight condensation: that the headlight housing is a hermetically sealed unit and any moisture inside proves a defect. It isn’t. Every BMW 3 Series headlight — from the E90’s halogens through the F30’s xenons to the G20’s adaptive LEDs — is deliberately vented to the outside air.
The reason is simple physics. When the headlights switch on, the air inside the housing heats up and expands; when they switch off, it cools and contracts. A rigid, fully sealed housing would have to survive constant pressure cycling, and the electronics inside (ballasts, LED drivers, adaptive-light motors) generate heat that needs a path out. So BMW fits small vent openings in the rear of the housing, each covered by a breathable membrane — a fine synthetic mesh in the same family as Gore-Tex-style fabrics. These membranes let air and water vapor pass in both directions while blocking liquid water and dust.
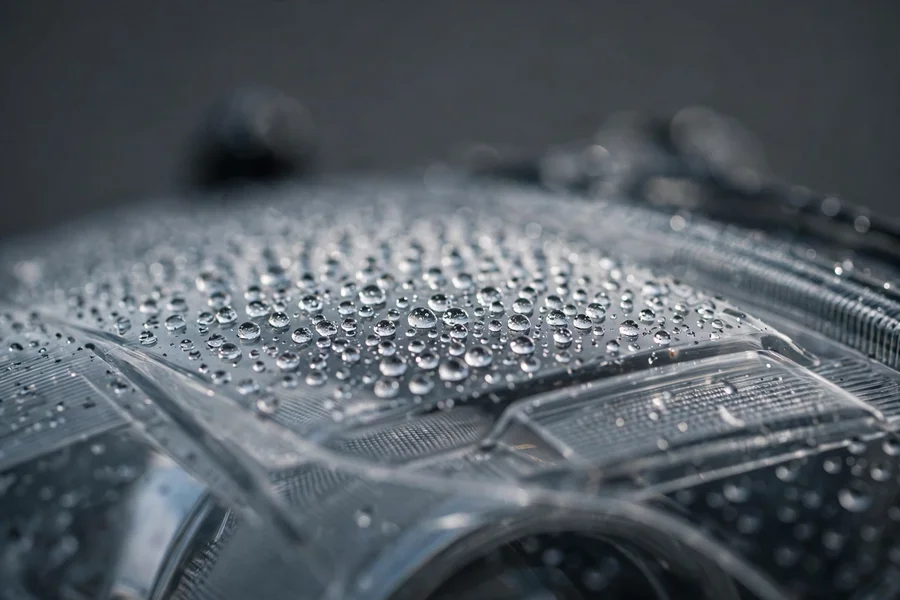
That two-way vapor exchange is exactly why condensation happens. On a cold, humid evening, the lens is the coldest surface of the housing. Warm, moisture-laden air from the engine bay or from the vent membranes meets the cold lens and condenses into a fine film — the same process that fogs the inside of your windshield. Turn the lights on and the housing warms, the relative humidity inside drops, and the mist evaporates back out through the vents. The whole cycle is by design.
Problems start when that cycle breaks. If a vent membrane is clogged, damaged, or missing, moisture gets in faster than it can get out. If the perimeter seal between the lens and the housing is cracked, or a rear access cap is seated incorrectly, liquid water enters directly. The result looks similar at first — fog on the lens — but behaves very differently, which is what the next section is about.
Condensation vs. actual leak: the definitive side-by-side test
BMW’s own technical guidance on this topic draws a hard line between permitted condensation and condensation that is not permitted. The practical version of that distinction comes down to three observations you can make in your driveway: what the moisture looks like, where it sits, and what happens when the lights run.
| Observation | Normal condensation | Actual leak (needs action) |
|---|---|---|
| Appearance | Light mist or thin, even film — no distinct droplets | Individual droplets, streaks running down the lens, or a visible puddle |
| Location | Confined to edges and corners of the lens; center stays clear | Spreads across the main lens area; collects at the bottom of the housing |
| The 30-minute test | Mostly or fully gone after 20–30 minutes with the headlights on | Barely changes, or returns quickly after drying |
| Both headlights? | Often affects both sides roughly equally in damp weather | Usually one side only — the other stays dry in identical conditions |
| After heavy rain or a wash | No change, or the usual light mist | Noticeably worse — water visibly entered during the wash |
The 30-minute test is the single most useful thing on that table. A healthy housing with a healthy vent system can dry itself: heat from the bulbs (or LEDs) lowers the relative humidity inside and the moisture exits through the vent membranes. A leaking housing cannot dry itself because new moisture keeps arriving. Run the headlights for half an hour and compare before and after — that comparison tells you more than any forum debate.
One more nuance worth knowing: LED headlights (standard on most G20s and many late F30s) run cooler than xenon or halogen units, so they take longer to dry out and can show mist more often. A G20 LED unit that fogs lightly on damp mornings and clears during the commute is behaving exactly as designed — not failing.
The vent membranes: small parts, big job
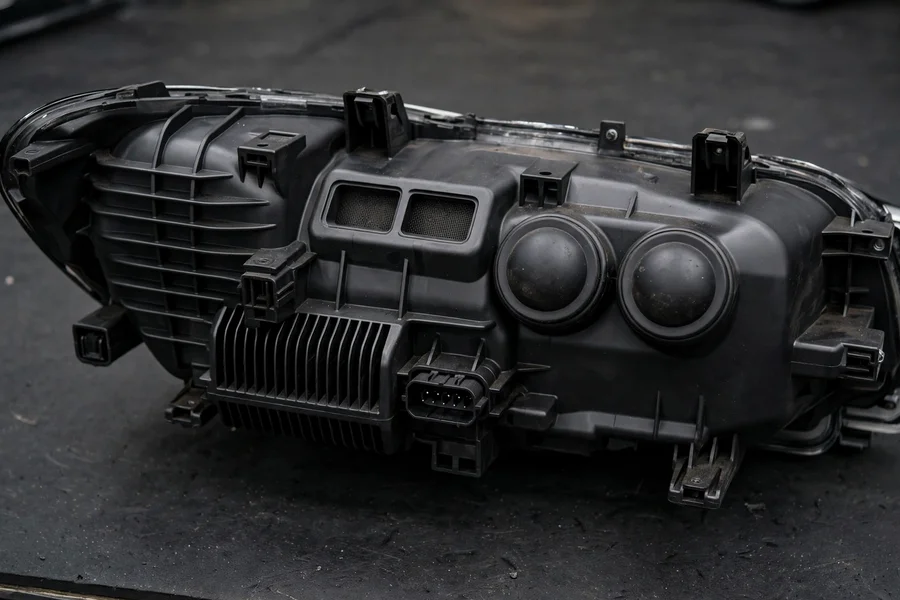
Turn a removed BMW headlight around and look at the back of the housing: you’ll find the round rubber access caps (where bulbs are changed) and, separately, one or two small rectangular vent openings covered in fine dark mesh. Those are the vent membranes, and they are the most underappreciated part of the whole moisture story.
When everything is working, the membrane passes water vapor in both directions while repelling liquid water. But membranes have failure modes of their own:
- Clogging. Road grime, dust, and oily under-hood film coat the mesh over years, throttling the vapor flow. The housing can then take in moisture (through heat cycling and cap removal during bulb changes) faster than it exhales it.
- Damage or displacement. A membrane that is torn, melted by heat, or seated crookedly after housing work lets liquid water straight in — and the entry point is nearly invisible from outside.
- Missing membranes. On used cars, a vent cap or membrane is sometimes simply gone — lost during a previous bulb change, bumper repair, or headlight removal. The vent becomes an open hole.
This is why bulb changes and bumper work are the most common triggers for a sudden condensation problem. Every time the rear caps come off, the housing breathes a lungful of ambient air; every time a cap goes back on slightly crooked or its gasket is pinched, a new water path opens. If your fogging started right after a bulb was changed, the rear cap seal is suspect number one. Our step-by-step BMW 3 Series headlight bulb replacement guide shows exactly how those caps seat — if you’re changing a bulb anyway, inspect the cap gasket and the vent membranes while you’re in there.
Vent membrane inspection and cleaning: the 20-minute check
Before you dry anything or reach for sealant, check the vents. On most 3 Series the vent openings are accessible with the headlight in place — open the hood and look at the rear of each headlight housing; on some cars you’ll need to peel back a wheel-well liner or remove an intake duct for a clear view.
- Find every vent. Most E90, F30, and G20 headlights have two vent openings on the back of the housing; some variants have one. Check the dry headlight too, so you know what a complete, healthy vent looks like.
- Check they’re present and seated. The membrane should sit flat in its frame with no gaps at the edges. If one is missing entirely, that is very likely your leak — the fix is a replacement vent cap or membrane, not sealant.
- Check for clogging. A membrane coated in grime can be cleaned gently with a soft brush and a little electronics-safe cleaner, then left to air-dry. Never poke through the mesh or blast it with compressed air at close range; puncturing it turns a clogged vent into an open hole.
- Check the rear caps. Each rubber access cap should twist or clip on squarely with its gasket unpinched. A cap that’s cross-seated by a few millimeters is one of the most common real causes of water entry on the 3 Series.
If the vents and caps check out but moisture persists, move on to the interactive check below — it walks through the symptom pattern and gives you a verdict plus a realistic cost band for your exact car and headlight type.
Condensation checker: is yours normal, and what will it cost?
Pick your symptom, your 3 Series generation, and your headlight type. The tool gives a verdict — normal, dry-out, or fix — plus the realistic replacement cost band for your exact setup. Costs are parts-market estimates (assembly price + typical independent-shop labor), not quotes.
How to dry out a BMW headlight properly
If your moisture falls in the middle category — persistent fog that never quite clears — a proper dry-out is the right first move. It costs almost nothing, and on many 3 Series it permanently solves the problem, because the trapped humidity often entered during a bulb change or a humid spell rather than through a broken seal. Work through these steps in order.
- Step 1 — Open the housing to the air. With the car parked in a dry garage (or on a dry, mild day), open the hood and remove the round rubber rear access caps from the affected headlight. If your car has a top access hatch, open that too. You’re giving the trapped moisture an exit path larger than the vent membranes.
- Step 2 — Run the headlights. Switch the low beams on for 20–30 minutes with the caps off. The heat drives the internal humidity down and the open caps let it escape. On cooler-running LED cars this can take the full 30 minutes; be patient.
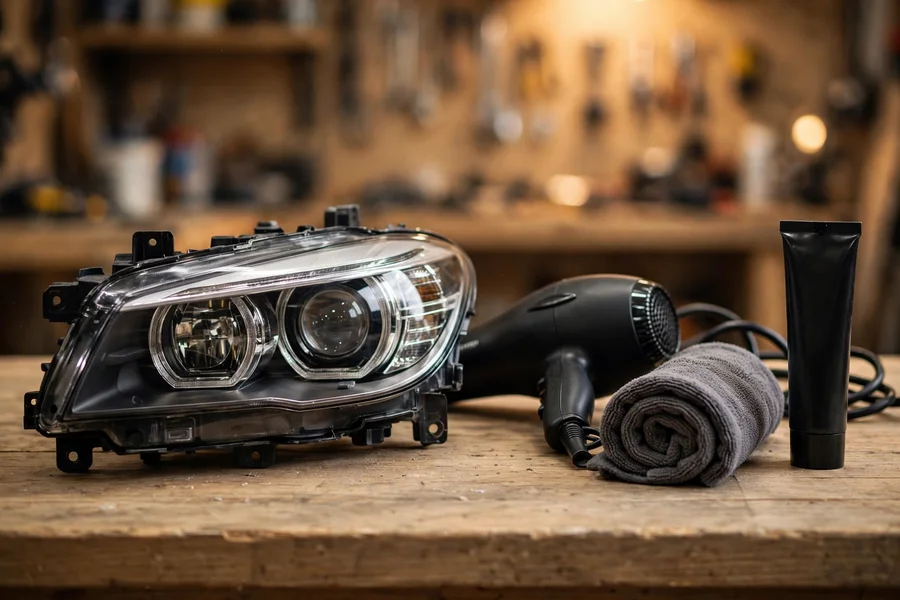
- Step 3 — Accelerate gently with a hair dryer if needed. If the garage is humid or the fog is stubborn, a hair dryer on its low or medium heat setting, held at arm’s length and moved constantly across the front of the lens for 10–15 minutes, speeds things up. Keep the air warm, not hot: excessive concentrated heat can distort the lens or damage the membrane. Never use a heat gun.
- Step 4 — Desiccant for stubborn cases. Drop two or three silica-gel packets inside the housing through the open cap and leave them overnight (retrieve them the next day — leaving loose packets inside permanently is asking for rattles). This pulls out residual moisture the heat missed.
- Step 5 — Close it up correctly. Inspect each rear cap’s gasket for cracks or flattening, wipe the sealing surfaces clean, and seat the caps squarely — a pinched or cross-threaded cap is the single most common reason a dry-out “doesn’t work.” Refit the vent membranes if you removed them for inspection.
- Step 6 — Verify over a week. Drive normally for several days, including one damp morning if possible. If the fog stays away, you’re done. If it returns in the same pattern, you have an active entry point and drying alone will never be the fix.
A safety note that matters more than it sounds: do not drive at night with the rear caps removed. The caps are part of the housing’s protection against road spray, and an open cap on a wet road will flood the housing with exactly the water you’re trying to remove. Always refit them before driving.
Resealing: when drying isn’t enough
When moisture keeps returning, water is getting in through a failed barrier, and the job shifts from drying to finding and closing that path. Resealing is a legitimate repair on older 3 Series — but only when you can actually identify the entry point. Sealing at random around the housing is how owners turn a fixable headlight into a permanently foggy one, because sealant applied over a working vent membrane blocks the very airflow the housing needs.
The entry points, in rough order of how often they cause 3 Series headlight leaks:
- Rear cap gaskets. The rubber seals harden and flatten with age and heat. New caps or fresh gaskets are cheap, and this fixes a large share of E90 and F30 leaks outright.
- The lens-to-housing perimeter seam. The factory butyl or polyurethane seal softens over a decade-plus of heat cycles. Look for gaps, lifted sections, or areas where the lens visibly flexes against the housing. Re-laying butyl sealant along the seam is a well-documented community repair — effective, but fiddly, and the lens must be fully dry first or you seal moisture in.
- Cracked lens or housing. Stone strikes and minor parking impacts can hairline-crack a lens in ways that are nearly invisible until you look from the inside with the light on. Small cracks can sometimes be sealed; larger ones mean the lens or the whole assembly needs replacement.
- Missing or damaged vent membranes. If a membrane is torn or gone, the correct fix is a replacement membrane or vent cap — not sealant over the opening. The housing must breathe.
- Aftermarket or previously opened housings. Headlights that were opened for projector retrofits or “blacked out” and resealed by a previous owner are the hardest cases: the reseal quality is unknown, and the lens coating is often already compromised. On these, replacement is usually the honest recommendation.
One caution about resealing xenon (HID) units specifically: the ballast and igniter sit at the bottom of the housing, exactly where leaking water collects. If a xenon headlight has been taking on water for months, budget for the possibility that the electronics are already damaged — a resealed housing with a dead ballast still needs the ballast replaced, which narrows the savings over a full assembly.
When replacement is the only answer: honest cost bands
Some headlights are beyond resealing: cracked lenses, delaminated internal coatings, housings warped from heat, water-damaged electronics, or leaks you simply cannot locate after two honest attempts. At that point the math is the math. The table below shows realistic fitted cost bands per headlight — one side — based on parts-market assembly pricing and typical independent-shop labor. Treat every figure as an estimate, not a quote: dealer pricing runs noticeably higher, especially for adaptive LED units that also need coding and calibration.
| Headlight type | Assembly alone (parts-market) | Fitted at an independent shop | Fitted at a dealer |
|---|---|---|---|
| Halogen (E90, early F30) | $250–$450 | $450–$900 | $800–$1,300 |
| Xenon / HID (E90, F30 pre-LCI) | $400–$700 | $700–$1,300 | $1,200–$2,000 |
| LED non-adaptive (F30 LCI, early G20) | $600–$1,000 | $1,000–$1,800 | $1,600–$2,500 |
| Adaptive LED (G20, F80 M3) | $900–$1,500 | $1,500–$2,500+ | $2,000–$3,500+ |
A few things that move you within (or beyond) those bands. First, coding: modern BMW headlights are coded to the car, and adaptive units need calibration of the swivel motors after replacement — an independent BMW specialist with the right software handles this routinely, but it adds labor a general shop may not quote. Second, used assemblies: a used OEM headlight from a reputable recycler can cut the parts cost dramatically, but inspect it for the exact problem you’re replacing — a used unit with its own fogging history is no bargain. Third, pairs: replacing one adaptive LED while the other side is a decade old can leave a visible color and brightness mismatch; budget-conscious owners sometimes do both, which doubles the bill.
If the car is still under the factory warranty or a CPO warranty, document the problem before touching anything: take dated photos showing droplets or pooling (not just light mist), note whether the 30-minute test clears it, and keep the housing untouched. Light mist that clears is the pattern BMW’s guidance calls acceptable, and dealers will — correctly — decline warranty replacement for it. Persistent droplets and standing water are a different conversation.
DIY difficulty and the honest recommendation
Rate this job on the honest scale: drying and vent inspection is a 2 out of 10 — open caps, run lights, check membranes. Anyone comfortable opening the hood can do it. Resealing a perimeter seam is a 5 out of 10 — the materials are cheap but the work is slow, the housing must be bone-dry first, and a rushed reseal makes things worse. Replacing the whole assembly is a 4 out of 10 mechanically (usually bumper or wheel-liner access, a few bolts, one big connector) but a 7 out of 10 overall on cars with xenon or adaptive LED, because of ballast handling, coding, and calibration.
The recommendation that saves the most money: do the vent check and the dry-out yourself, always. They cost nothing and resolve a surprising share of cases. Attempt a reseal only if you’ve found the entry point and the car is an older E90 or F30 where the stakes are lower. For a G20 with adaptive LEDs showing real water ingress, get a specialist diagnosis before buying parts — a $2,000 assembly ordered for a problem that was actually a $15 vent cap is the most expensive mistake in this whole guide.
And if you’re shopping for a used 3 Series, add the headlights to your walkaround: check both lenses for fogging on a cool morning, look for water lines or mineral deposits inside the lens (the tell-tale sign of a long-term leak), and confirm all the rear caps and vents are present. Our used BMW 3 Series buying guide covers the full inspection checklist. Moisture issues also tend to travel with neglected maintenance generally — the 3 Series maintenance schedule is the place to get the whole car back on a sensible plan, and if water is finding its way into the cabin too, the sunroof drain leak guide covers the other classic 3 Series water problem.
Frequently asked questions
Is headlight condensation covered under BMW warranty?
Light mist that clears with the lights on is classified by BMW’s own guidance as acceptable condensation, and dealers will decline warranty replacement for it. Persistent droplets, running water, or standing water in the housing is a different matter — document it with dated photos and the 30-minute test before your visit, and push for replacement under the factory or CPO warranty while it applies.
Can I just drill a hole in the headlight to let moisture out?
Don’t. Drilling bypasses the vent membranes that keep liquid water and dust out, and it is effectively irreversible — you’ve converted a vented housing into an open one, and the fogging usually gets worse, not better. Clean or replace the factory vents instead; they exist for exactly this job.
Why does only one headlight fog up?
Asymmetric fogging points to a problem on the wet side rather than the weather: a mis-seated rear cap after a bulb change, a clogged or missing vent membrane, or a failing perimeter seal. Check the rear caps and vents on the affected side first — a bulb was very often changed on that side recently, and the cap is the prime suspect.
Will condensation damage the headlight electronics?
Light mist that clears normally does not. Standing water is the real threat: on xenon cars the ballast and igniter sit low in the housing where water collects, and prolonged exposure can kill them — turning a seal problem into an electronics problem. LED drivers are better sealed but not immortal. Persistent water ingress should be fixed promptly, not lived with.
Should I replace a foggy headlight with a used one?
A used OEM assembly can save a lot on expensive LED and adaptive units, but inspect it the way you’d inspect yours: look inside the lens for water lines or mineral deposits that betray a leak history, confirm the vent membranes and rear caps are present, and check the manufacture date. A used unit with its own fogging past is the most expensive “bargain” in this repair.