Are Your BMW 3 Series Shocks Worn Out? Cost & Signs
Your 3 Series used to ride like it was carved from a single block. Now it floats over dips, crashes over potholes, and the nose dives every time you touch the brakes. Shocks and struts wear out so gradually that most owners adapt to the decline — until one day the car feels nothing like the BMW they bought. Here is how to tell whether your dampers are done, what the job costs, and where the E90, F30, and G20 generations differ.
Short answer
BMW 3 Series shock replacement cost typically runs $700–$1,200 per front axle and $500–$900 per rear axle at an independent shop using quality aftermarket dampers; a full set of four lands around $1,500–$2,800 installed, while dealers usually quote $3,200–$5,000 or more. Plan on fresh dampers around 70,000–100,000 miles, or sooner if a strut is leaking oil, your tires show scalloped cupping, or a corner bounces more than once in the bounce test. Always replace in axle pairs. (Cost bands are typical U.S. estimates from owner-reported quotes — your region and part brand will move them.)
In this guide
- The 7 signs your BMW’s dampers are done
- The bounce test, done right
- Symptom diagnosis table: dampers vs. the usual impostors
- E90 vs. F30 vs. G20: what changes
- Why you replace in pairs (and the one exception)
- What it costs: DIY vs. independent vs. dealer
- OE, OEM, or aftermarket: which dampers to buy
- Interactive: symptom checker + cost estimator
- DIY difficulty and spring compressor safety
- Frequently asked questions
The 7 signs your BMW’s dampers are done
Dampers (the hydraulic units inside your struts and shocks) exist for one job: controlling the spring. When the oil inside leaks out or the internal valving wears, the spring does whatever it wants. Here are the seven signs, ranked by how conclusive they are.
1. A corner fails the bounce test
Push down hard on one fender corner and release. A healthy damper settles in one controlled rebound; a worn one lets the body bounce two or three times. If any corner fails, that axle’s dampers are finished. This is the fastest test you can do in your driveway, and it is covered in detail in the bounce test section below.
2. Visible oil on the damper body
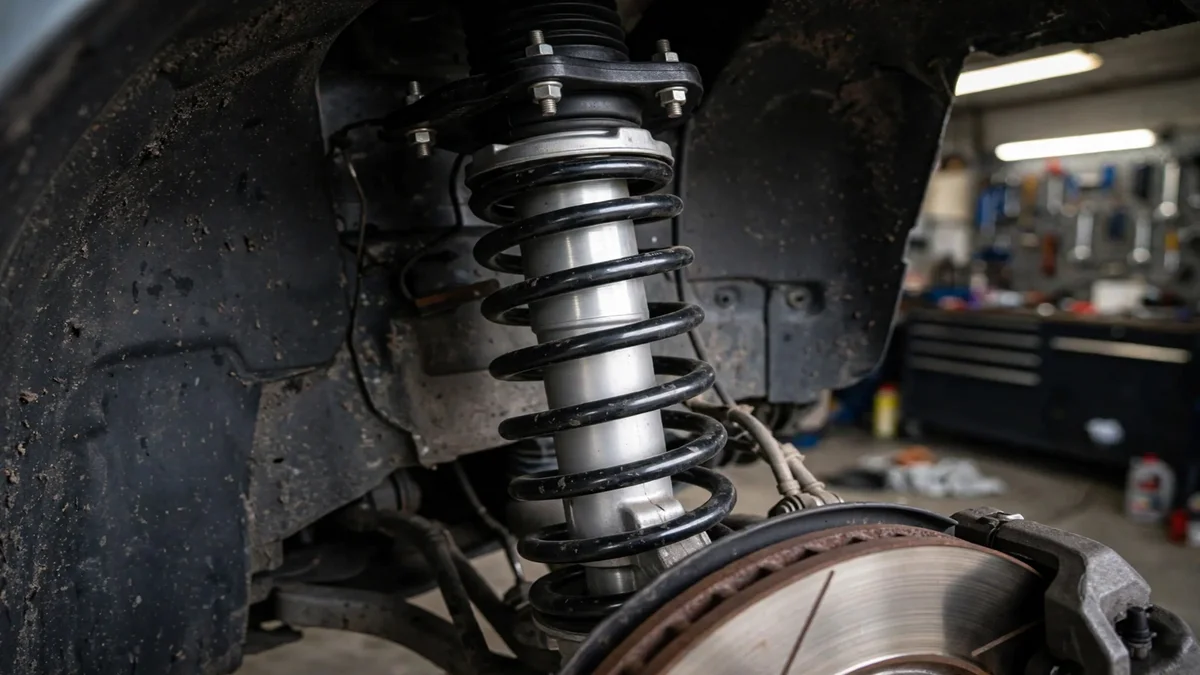
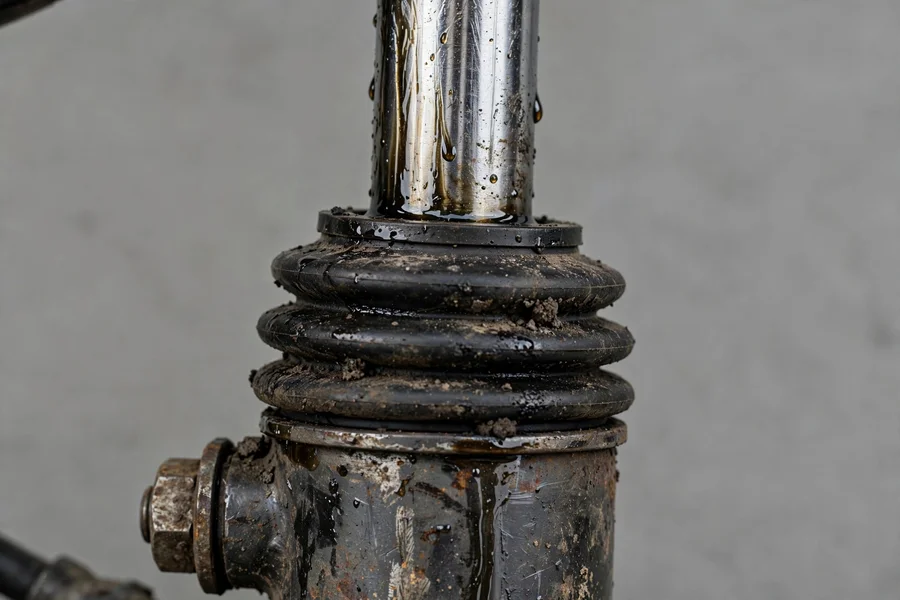
Slide under the car with a flashlight and look at the damper bodies. A light oil mist at the top seal can be normal weeping, but wet, dripping oil running down the strut or shock body means the seal has failed and the damping fluid is escaping. A leaking damper cannot do its job — it is done, full stop. Check both fronts (look through the wheel well at the strut) and both rears (the shocks sit just inboard of the rear wheels).
3. Scalloped cupping on the tires
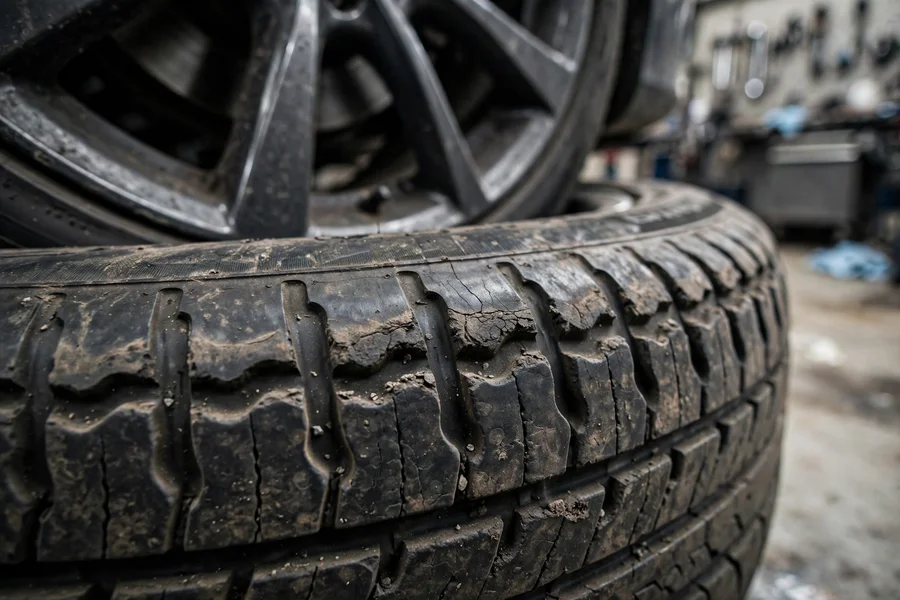
Run your hand across the tread of each tire. If you feel a series of raised and dipped patches — like the edge of a pie crust — that is cupping (also called scalloping). It happens when a worn damper lets the tire bounce against the road instead of rolling smoothly. Cupping also produces a distinctive droning hum at speed that many owners mistake for a bad wheel bearing; if the noise does not change when you swerve gently left and right, the tires are cupped rather than the bearing being shot (our wheel bearing noise guide covers that distinction). Once cupping is established, new dampers will not un-wear the tires — budget for rubber too, and see our run-flat vs. regular tires comparison if you are choosing replacements.
4. Nose dive under braking
When you brake moderately, the front of the car should dip slightly and stay planted. If the nose plunges and the body rocks back when you release the pedal, the front struts are no longer controlling weight transfer. This is not just a comfort issue: longer stopping distances come with it, since a diving front end unloads the rear tires. If your pads are fine but braking still feels dramatic, read our brake pad replacement cost guide to rule out the friction side first.
5. Floaty highway ride and body roll
A 3 Series should track straight and feel nailed down at 70 mph. Worn dampers make the car feel like it is riding on a cushion of air: it wallows over gentle undulations, leans more in lane changes, and needs constant steering correction in crosswinds. Because the decline is gradual — a damper strokes roughly 1,750 times per mile — many owners only realize how bad it was after the new set goes in.
6. Clunks and rattles over bumps
A sharp clunk over speed bumps or driveway entries can be a blown damper — the piston bottoming out against its internal stops — but it is just as often a worn strut mount, a broken spring, or a tired control arm bushing. Do not throw struts at a clunk without checking the mounts and bushings first; our dedicated control arm bushing guide covers the front-end clunk diagnosis in full, since bushing failures and damper failures produce overlapping noises around 50–80k miles.
7. Mileage and age
BMW publishes no service interval for dampers, but the industry consensus — and owner experience across the forums — puts OE damper life at roughly 70,000–100,000 miles, or 7–10 years. Beyond that, even dampers that are not leaking have usually lost a large share of their damping force. If your 3 Series is past 100k on its original struts and shocks, they are worn out whether or not you have noticed yet. Fold a damper inspection into your regular schedule; our 3 Series maintenance schedule shows where it fits.
The bounce test, done right
The bounce test is crude, free, and surprisingly informative — if you do it at the corner, not the middle of the hood. Here is the procedure: park on flat ground, then push down firmly on one fender or bumper corner using your body weight, release suddenly, and count the oscillations. One controlled rebound and settle: healthy. Two or more visible bounces: the damper at that corner is worn. Test all four corners separately and compare sides — asymmetry is itself a finding, since a healthy car should settle identically left and right.
Two caveats. First, the bounce test mainly exposes severely worn dampers; a damper that has lost 30–40% of its force can still pass, so treat a pass as “not obviously dead” rather than “fine.” Second, a failed bounce test does not tell you whether the damper, the strut mount, or a broken spring is at fault — pair the test with the visual leak check and the tire inspection for a complete picture.
Symptom diagnosis table: dampers vs. the usual impostors
Dampers share symptoms with half the front end. Use this table to aim your diagnosis before spending money.
| Symptom | Most likely cause | Confidence | Next check |
|---|---|---|---|
| Car bounces 2+ times in the bounce test | Worn dampers | High | Visual leak inspection at that corner |
| Wet oil dripping down damper body | Failed damper seal | Certain | Replace that axle’s pair |
| Scalloped cupping on tires + highway drone | Worn dampers (tires are already damaged) | High | Confirm with bounce test; plan for tires too |
| Nose dive under braking, rocking on release | Worn front struts | Medium-high | Rule out brake issues; bounce-test the fronts |
| Floaty, wallowy highway ride | Worn dampers | Medium-high | Compare against a known-good car if possible |
| Single clunk over bumps | Strut mount, control arm bushing, or end link | Medium | See the control arm bushing guide before buying struts |
| Hum that changes when swerving | Wheel bearing, not dampers | High | Wheel bearing noise guide |
| Steering shimmy at 50–60 mph | Control arm bushing or wheel balance, not dampers | High | Control arm bushing guide |
E90 vs. F30 vs. G20: what changes
All three generations use MacPherson struts up front and separate shocks and springs at the rear — the rear units are true shocks, not struts, because the spring does not wrap around them. But the details, the failure patterns, and the cost of getting it wrong differ by generation.
| E90 (2006–2012) | F30 (2012–2019) | G20 (2019–present) | |
|---|---|---|---|
| Front layout | MacPherson strut, hydraulic only | MacPherson strut; Adaptive M Suspension (electronic) optional on M Sport | MacPherson strut with lift-related dampers standard; Adaptive M optional |
| Rear layout | Separate shock + spring, multi-link | Separate shock + spring, multi-link | Separate shock + spring, multi-link |
| Typical OE damper life | 60k–90k miles; most surviving E90s are on their second or third set | 70k–100k miles; rears often go first | Too young for a pattern; leaking is rare but electronic faults can appear |
| Watch-outs | Rust on spring perches and mounts in salt states; xDrive front struts differ from RWD | Electronic dampers: confirm part numbers before ordering; xDrive struts differ from RWD | Adaptive dampers carry wiring connectors — check for fault codes before assuming mechanical wear |
| DIY friendliness | High — simple, well documented, cheap parts | High for standard suspension; electronic dampers need coding-aware replacement | High for standard; leave electronic dampers to shops with diagnostic tools |
The biggest cost trap is the optional electronic suspension. On F30s with Adaptive M Suspension and G20s with Adaptive M, each damper is an electronically controlled unit that costs several times what a passive damper does, and replacements must be the correct electronic variant — a standard passive strut will not plug into the system and will set chassis fault codes. If your car has the adaptive option (check the option list or look for wiring connectors on the damper tops), budget accordingly and get the exact variant confirmed by VIN before ordering parts.
The E90 has its own age-related trap: at 14–20 years old, the failure is often not the damper itself but the rusted spring perch, crumbling strut mount, or split dust boot around it. Budget for mounts, boots, and bump stops alongside the struts — rebuilding a strut with new dampers but rotten mounts is false economy. And on every generation, xDrive front struts are a different part from RWD struts; ordering the wrong one is one of the most common DIY parts mistakes.
Why you replace in pairs (and the one exception)
Shops will tell you to replace dampers in axle pairs — both fronts or both rears — and on this one the shops are right. Dampers wear gradually and roughly symmetrically; putting a fresh, full-strength strut on one side and leaving a tired one on the other gives the car two different spring rates in practice. The result is lopsided handling in lane changes, uneven braking behavior, and one tire wearing faster than the other. The cost saving of doing one corner is small — the labor overlaps almost completely — while the handling compromise is real.
The single exception: a low-mileage car (under ~40,000 miles) where one corner was damaged by a pothole strike or curb hit and the other three dampers are verifiably healthy. In that case a single-corner replacement is defensible. Everywhere else — and always past 60k miles — do the axle pair.
What it costs: DIY vs. independent vs. dealer
All figures below are typical U.S. cost bands compiled from owner-reported quotes and estimator data — not fixed prices. Region, shop rate, and part brand move them up or down. Costs are per axle (two corners), parts plus labor, using quality aftermarket dampers unless noted.
| Job (per axle, standard passive suspension) | DIY (parts only) | Independent shop | BMW dealer |
|---|---|---|---|
| Front struts (pair) | $180–$400 | $700–$1,200 | $1,600–$2,400 |
| Rear shocks (pair) | $120–$260 | $500–$900 | $1,200–$1,800 |
| All four corners | $400–$900 | $1,500–$2,800 | $3,200–$5,000+ |
| Wheel alignment (after front work) | — | $100–$200 | $180–$300 |
| Factor | What it does to the bill |
|---|---|
| Adaptive/electronic dampers (F30/G20) | Parts alone can run several times passive-damper prices; expect $800–$1,500+ per corner installed, often dealer-only |
| Complete strut assemblies vs. bare struts | Assemblies cost more in parts ($250–$450 per front corner) but skip the spring compressor and cut labor |
| Strut mounts, boots, bump stops | Add $80–$200 per axle in parts; skipping them on a 100k-mile car is false economy |
| xDrive vs. RWD | Different front struts; xDrive parts run slightly higher and labor can be a touch longer |
| Labor time | Front struts: ~2–3 hours per axle; rear shocks: ~1–2 hours per axle (bolt-in, no spring work) |
Why is the front so much more than the rear? The front strut is a structural assembly: the coil spring wraps around it, so replacing the damper means compressing and transferring the spring — or buying a complete pre-assembled unit. Rear shocks on a 3 Series are standalone dampers bolted between the body and the trailing arm, with the spring sitting separately. No spring compressor, half the labor, roughly half the bill. That is also why the DIY difficulty splits the way it does, covered below.
One line item owners forget: the alignment. Any front strut replacement disturbs the front geometry, so a four-wheel alignment belongs in the budget — typically $100–$200 at an independent shop. Skipping it to save money usually costs more in tire wear within a year.
OE, OEM, or aftermarket: which dampers to buy
You have three tiers. OE (BMW-branded, dealer parts counter) is the most expensive and identical to what the car shipped with. OEM (the same manufacturer that built the OE part, sold under its own brand — Sachs supplies many BMW dampers, Bilstein others) delivers effectively identical performance for meaningfully less money. Reputable aftermarket (Bilstein B4 as the OE-equivalent replacement, B6 for a firmer sport feel, Koni for adjustability) is where most owners land: B4s in particular are widely regarded as the sensible default for a daily-driven 3 Series.
Two buying rules. First, match the damper to your car’s suspension variant: standard, M Sport, and xDrive each take different part numbers, and electronic-damper cars need electronic replacements — confirm by VIN, not by guesswork. Second, buy the wear parts that touch the damper while you are in there: strut mounts and bearings, dust boots, and bump stops. On a 100k-mile car these are all end-of-life, and redoing the job for a $30 mount is the most expensive $30 you will ever save. Finally, check the warranty before you chase the lowest price: reputable damper brands typically back their units for several years, while no-name budget struts often carry little or no coverage — and a damper that fails at 20,000 miles costs you the labor all over again.
Interactive: symptom checker + cost estimator
Answer two quick questions to narrow down what is wrong and what it should cost. Estimates are typical U.S. bands for standard (non-adaptive) suspension with quality aftermarket parts.
BMW 3 Series damper checker & cost estimator
Estimates are typical U.S. bands for standard passive suspension with quality aftermarket parts; adaptive/electronic dampers cost substantially more. Always add a wheel alignment ($100–$200) after front strut work.
DIY difficulty and spring compressor safety
Rear shocks on a 3 Series are a genuine beginner-to-intermediate DIY: two or three bolts per side, no spring work, about an hour per corner with basic hand tools. Difficulty: 4 out of 10. Front struts are a different job entirely — the coil spring wraps around the damper, and the spring must be compressed before the strut can come apart. Difficulty: 7 out of 10, and the extra three points are all about the spring.
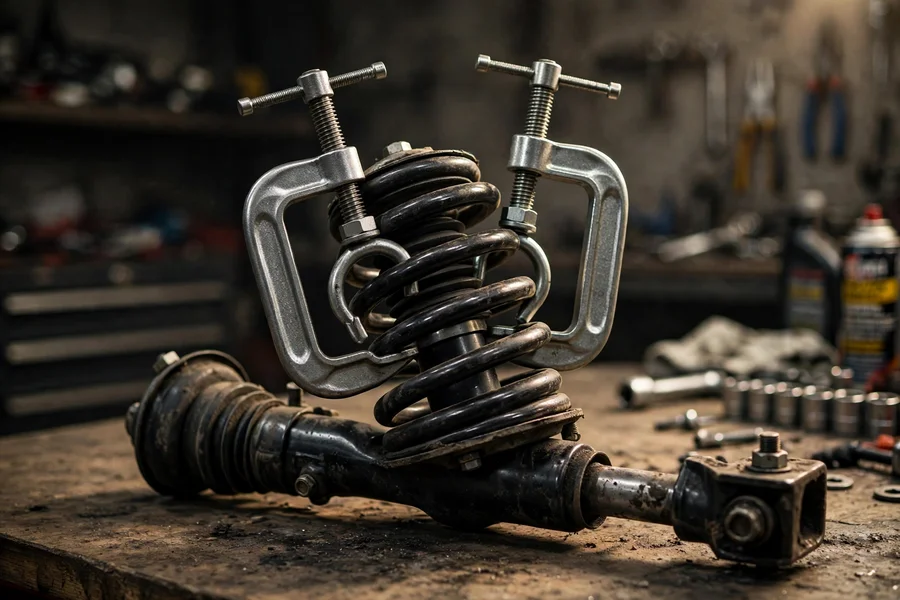
A compressed coil spring stores an enormous amount of energy. Released uncontrolled, it can cause severe injury — this is the single most dangerous common DIY job on the car, and it deserves respect. If you buy complete pre-assembled strut units (damper, spring, and mount already together), you skip the compressor entirely and the front job drops to roughly the difficulty of the rear. The assemblies cost more in parts, but for most home mechanics the trade is worth it.
If you do use a spring compressor, follow these rules without exception: use a proper paired compressor set (two clamps, 180 degrees apart), never a single clamp; tighten both sides a little at a time so the spring compresses evenly and stays centered; keep your body — face, hands, everything — out of the spring’s line of fire the entire time; and stop immediately if a clamp slips or the spring starts to tilt. Never cut corners with makeshift tools, and if anything about the setup feels wrong, take the assemblies to a shop and pay for a spring swap. A $50 shop charge is infinitely cheaper than a hospital visit.
Practical notes for the front job: soak the strut-to-knuckle bolts and the top mount nuts in penetrating oil the night before; support the knuckle so the brake hose and ABS wire never hang from their own weight; mark the camber bolt positions if your car has adjustable hardware; and replace the strut mounts, bearings, boots, and bump stops while the assembly is apart. When the job is done, drive straight to an alignment — the front geometry will be off.
Frequently asked questions
How long do BMW 3 Series shocks and struts last?
There is no factory service interval, but OE dampers typically last 70,000–100,000 miles or 7–10 years in normal use. Rough roads, heavy loads, and track use shorten that; gentle highway miles can stretch it. Past 100k on original dampers, replacement is due whether or not you have noticed symptoms — the damping force is largely gone by then.
Can I replace just one shock or strut?
Not recommended. Dampers wear symmetrically, so a single new unit leaves the car with mismatched damping side to side — lopsided handling, uneven braking, and faster tire wear on one corner. Always replace in axle pairs. The only defensible exception is a low-mileage car (under ~40k) where one corner was damaged by an impact and the other three dampers are verifiably healthy.
Do I need an alignment after replacing struts?
Yes after front strut replacement — the job disturbs front camber and toe, and skipping the alignment typically costs more in premature tire wear than the alignment itself ($100–$200 at an independent shop). Rear shock replacement alone usually does not require one, since the spring and alignment geometry are untouched, but a check is cheap insurance on a high-mileage car.
Why are my new tires already cupping?
Because the dampers were the problem, not the tires. Cupping is caused by the wheel bouncing against the road — fitting fresh rubber over dead dampers just starts the cupping cycle over on expensive new tires. Always diagnose and replace worn dampers before buying tires if cupping is present, or you will be buying the tires twice.
Are electronic adaptive dampers worth the extra cost to replace?
If your F30 or G20 came with Adaptive M Suspension, you cannot simply fit cheaper passive dampers — the car expects the electronic units, and the wrong parts will set chassis fault codes. Replacement electronic dampers cost several times what passive ones do, so confirm your car’s exact variant by VIN before ordering. If you are replacing them anyway, sticking with the correct electronic units preserves the ride modes you paid for.
Worn dampers are the quiet thief of the 3 Series driving experience — they fade so slowly you forget what the car felt like new. The bounce test takes sixty seconds, the leak check takes a flashlight, and either one can save you from buying tires twice. If your car is past 70k on its original set, put the dampers on the inspection list — and when they are due, do them in axle pairs, budget the alignment, and check whether your car needs standard or electronic units before you order.